
Draw, move, compare
Free Online Floor Plan Creator to Draw and Edit Layouts
Workspace guidance and limits
Start with the sample layout or clear the canvas; build your own. Draw walls and lines, add doors, windows, labels, and furniture, then move, resize, rotate, recolor, or layer the pieces. Select several when a whole group needs to shift. Undo and Redo make experiments cheap. This workspace is for exploring layouts—not surveys, code checks, or construction documents.
Privacy: Leave private addresses, access codes, security details, and confidential client names out of labels and imported references.
- Wall
- Door
- Window
- Furniture
- Undo
- Redo
- Zoom out
- Reset zoom
- Zoom in
- New blank plan
- Load example plan
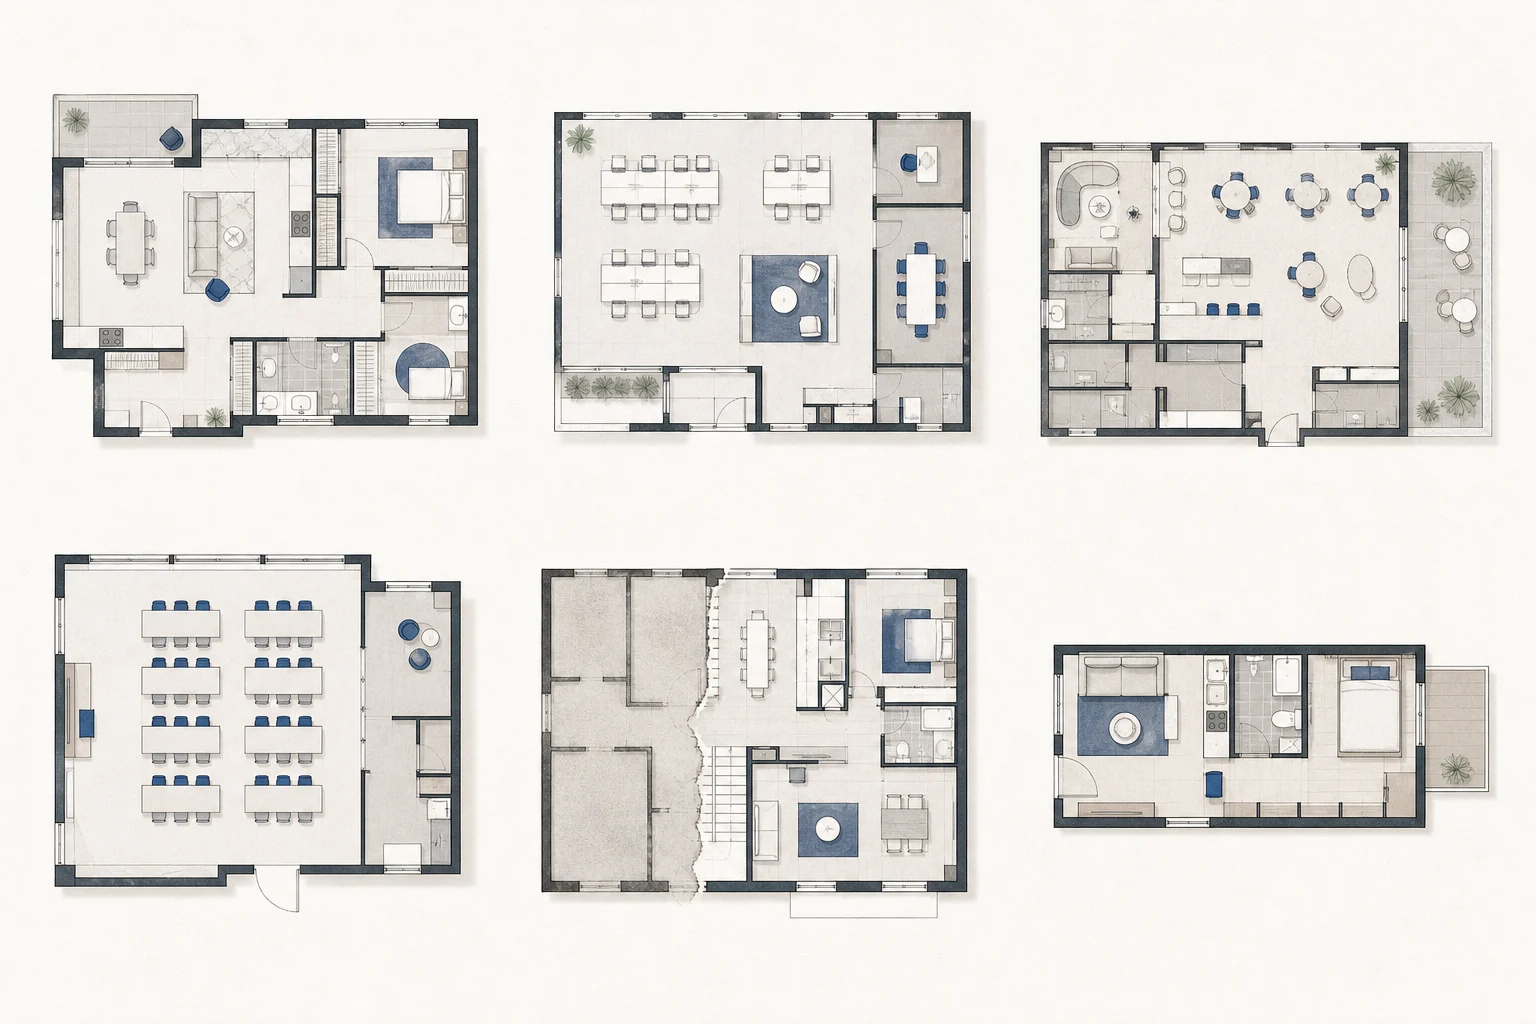
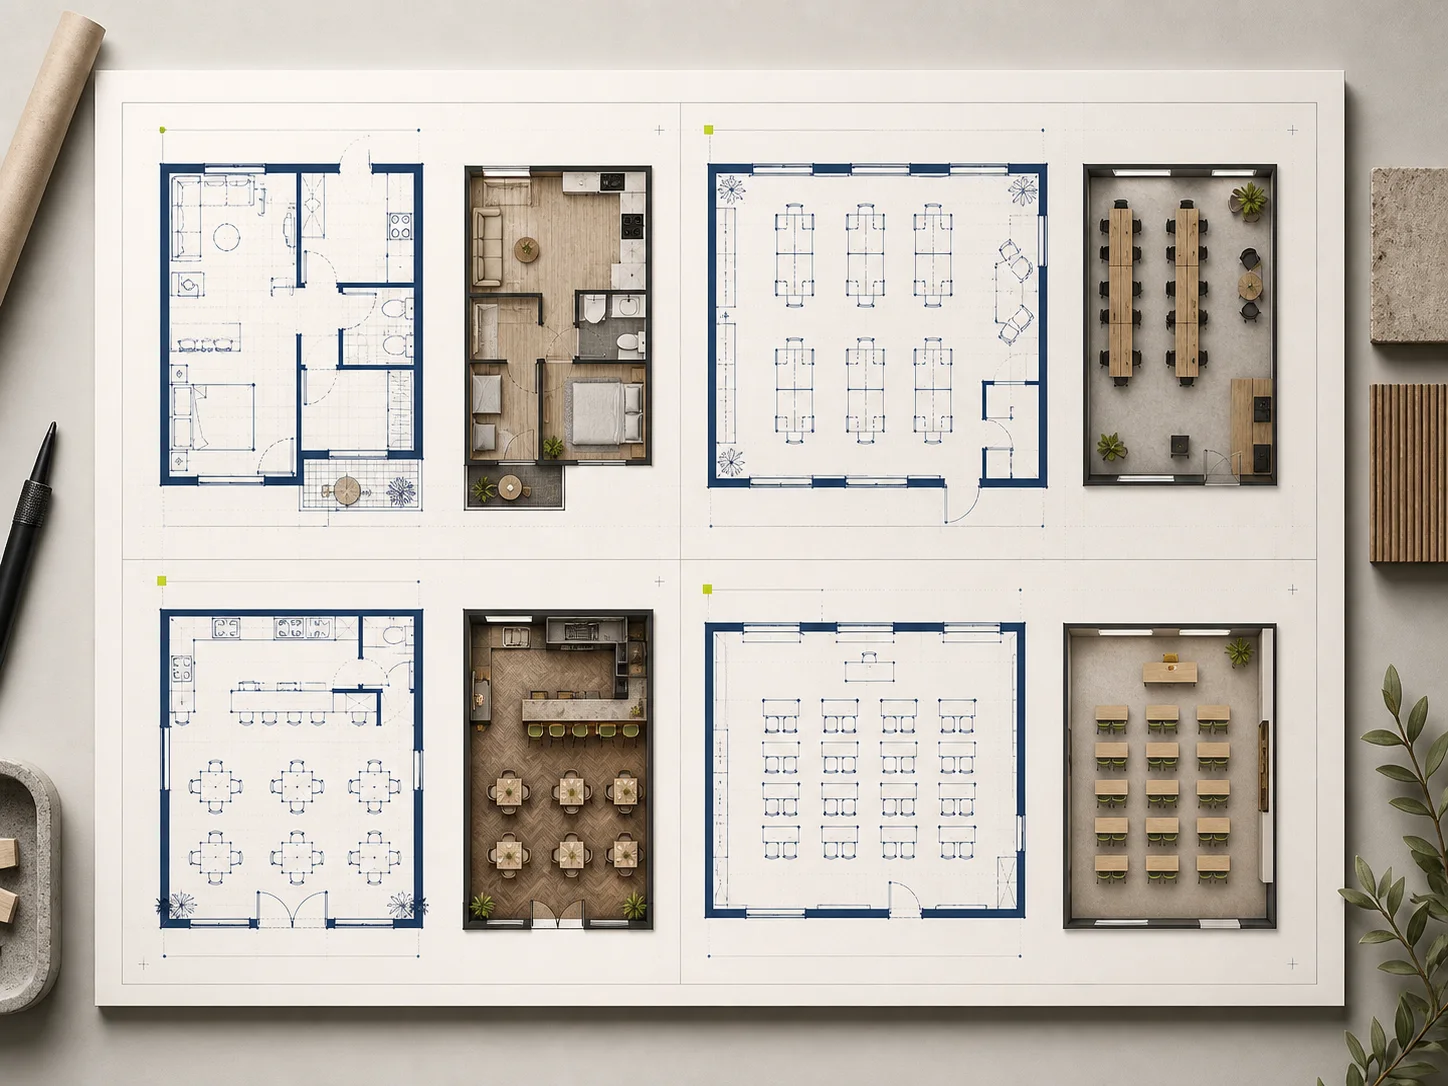
Six layouts, six different problems
What an Online Floor Plan Creator Helps You Catch
01
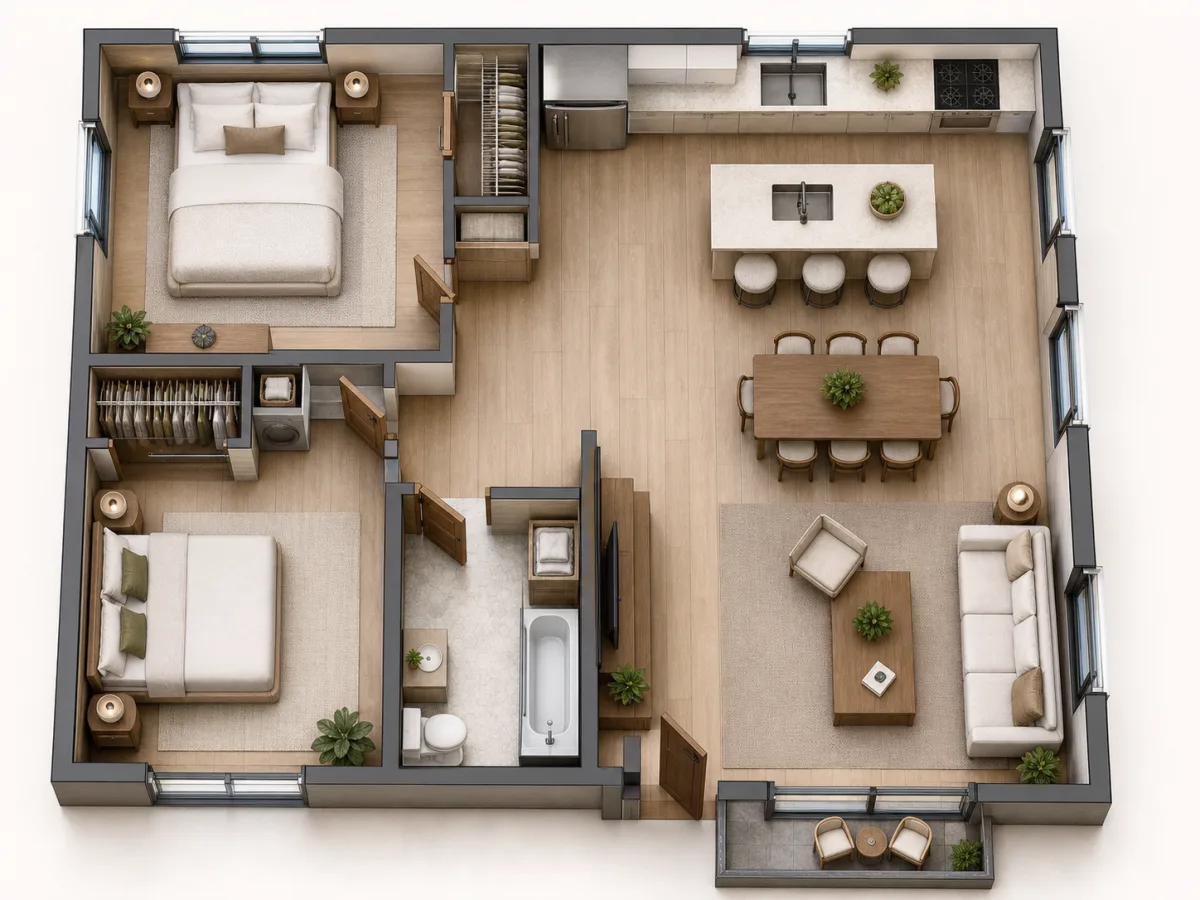
Catch the bottleneck in a small apartment
Block out bedrooms, shared space, storage, and the entry route before thinking about finishes. Move doors and main furniture until daily paths stop colliding. Check the turn into each bedroom.
02
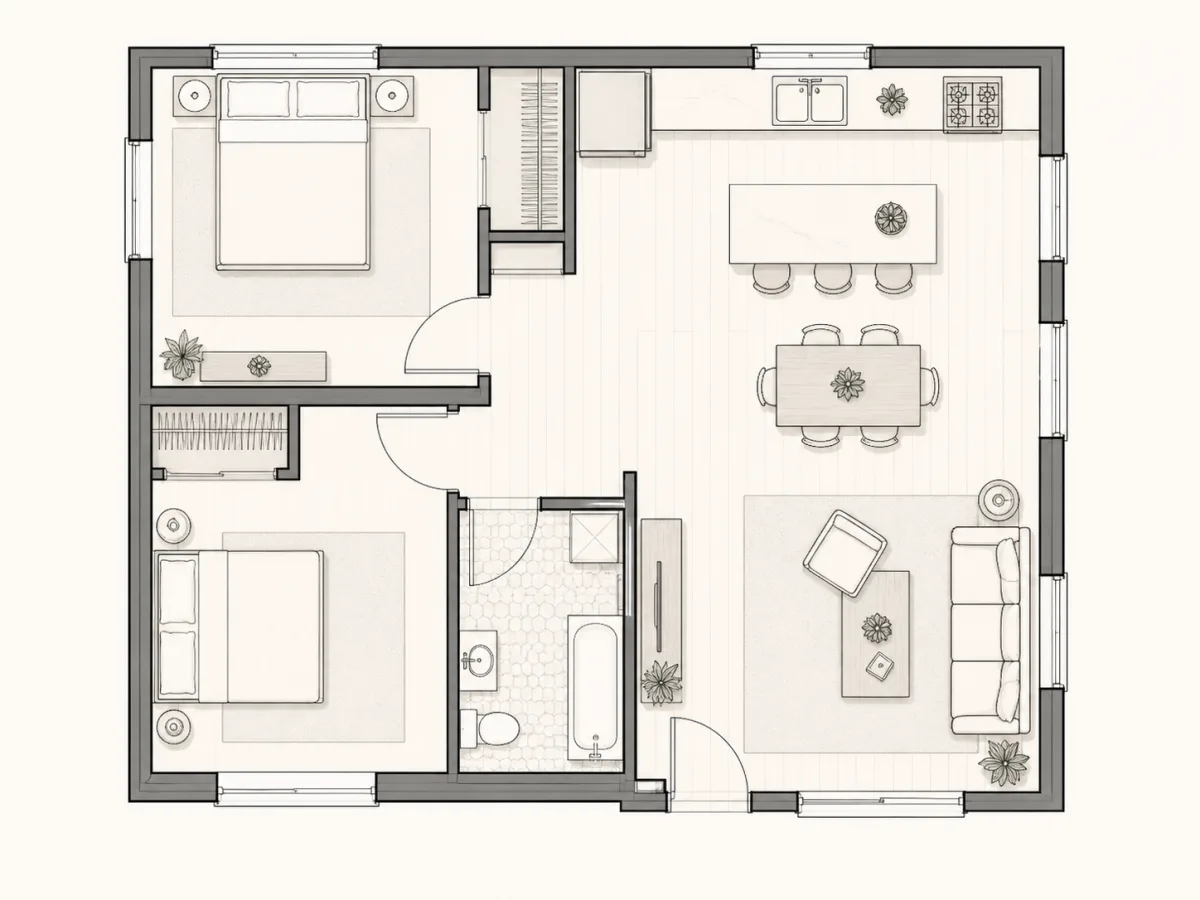
Keep a two-bedroom layout honest
Draw the outside shell, divide private and shared rooms, and add connecting openings. Use the grid to compare proportions—not as a scale—and check whether the bedrooms stay private. Watch each door swing near furniture.
03
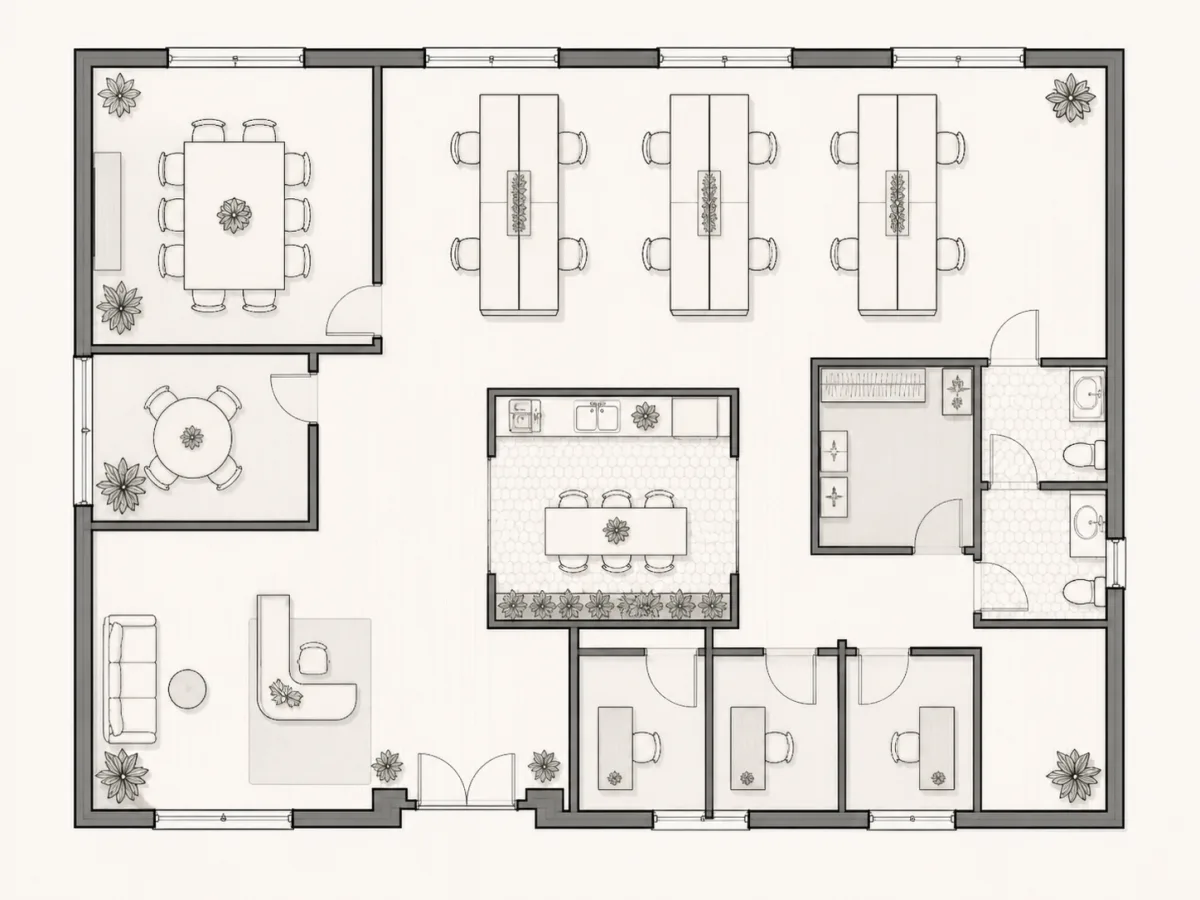
Separate focus from foot traffic
Place reception, shared work, meeting rooms, quiet rooms, and support areas as distinct zones. Follow the busiest route and notice where everyday traffic cuts through focused work. Keep shared routes out of quiet corners.
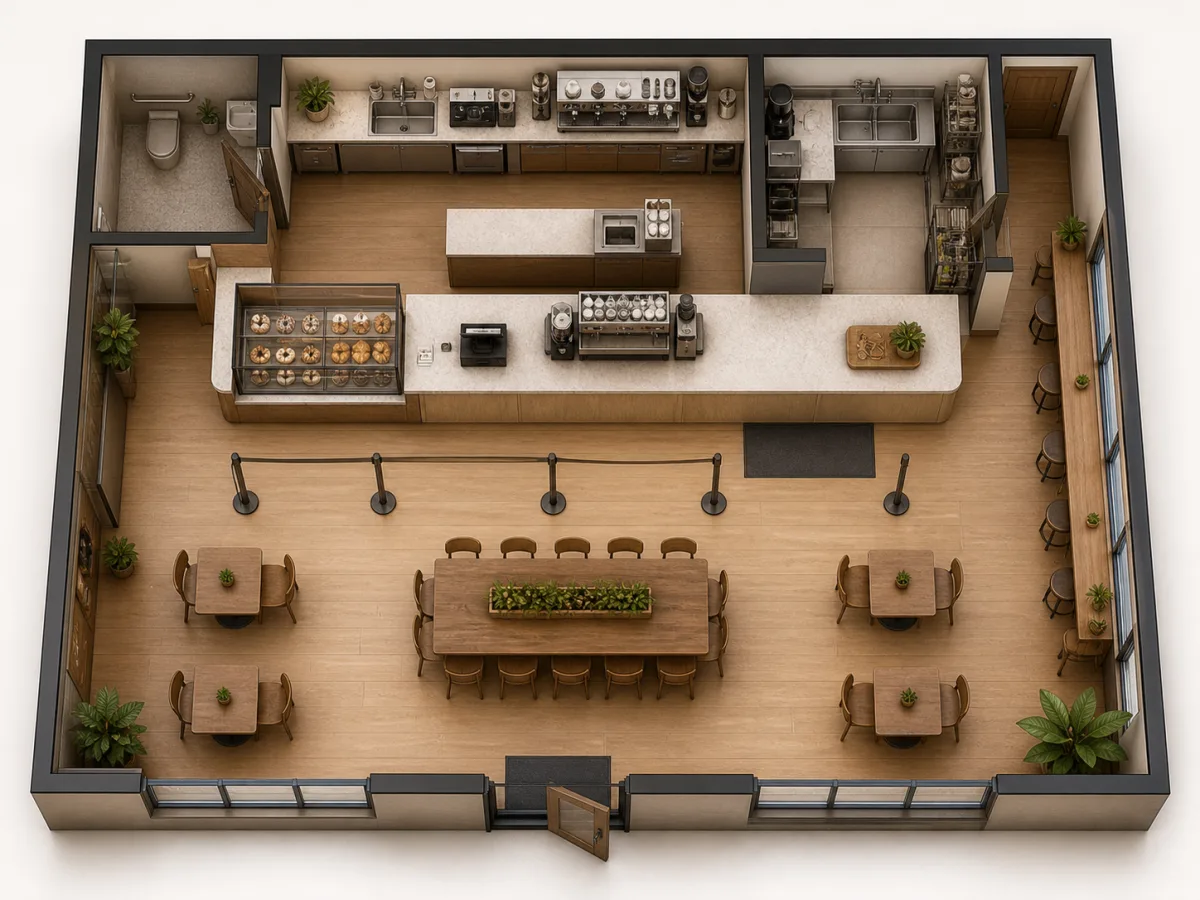
04
Walk through service before opening day
Map the queue, order point, pickup, preparation, seating, restroom, and exit. Trace customer and staff routes separately, then inspect every crossing before styling the space. Check whether pickup blocks the entry.
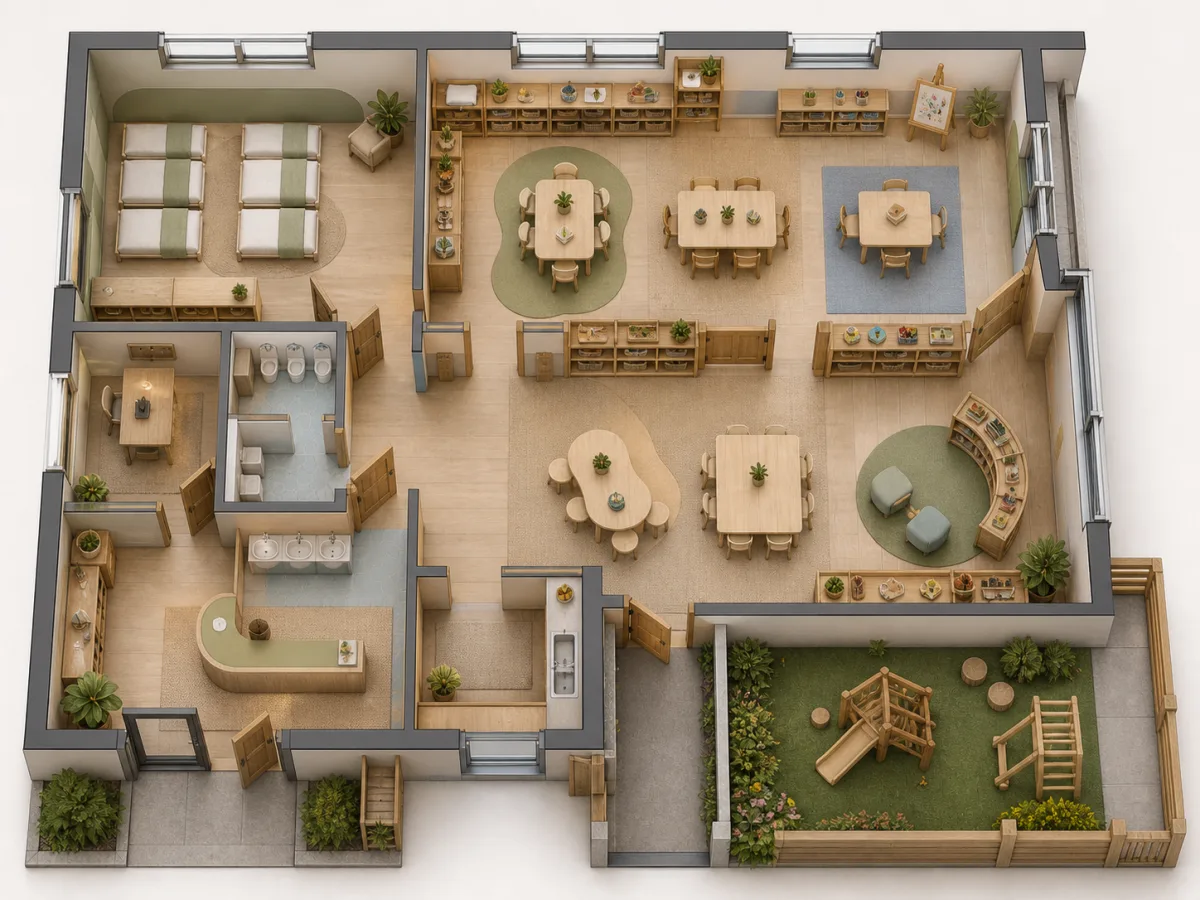
05
Give every classroom activity a place
Arrange instruction, reading, storage, quiet activity, and movement as distinct zones. Use the Floor Plan Creator to compare arrival, group work, independent work, and cleanup. Leave a clear route to storage and exits.
06
Learn the canvas with one small change
Open the sample, move one object, add an opening, or redraw one wall. Undo it, redo it, and try another option before starting a complicated plan. Then clear the canvas and repeat the move from scratch.
The controls you will use most
Edit the Floor Plan Without Losing the Thread
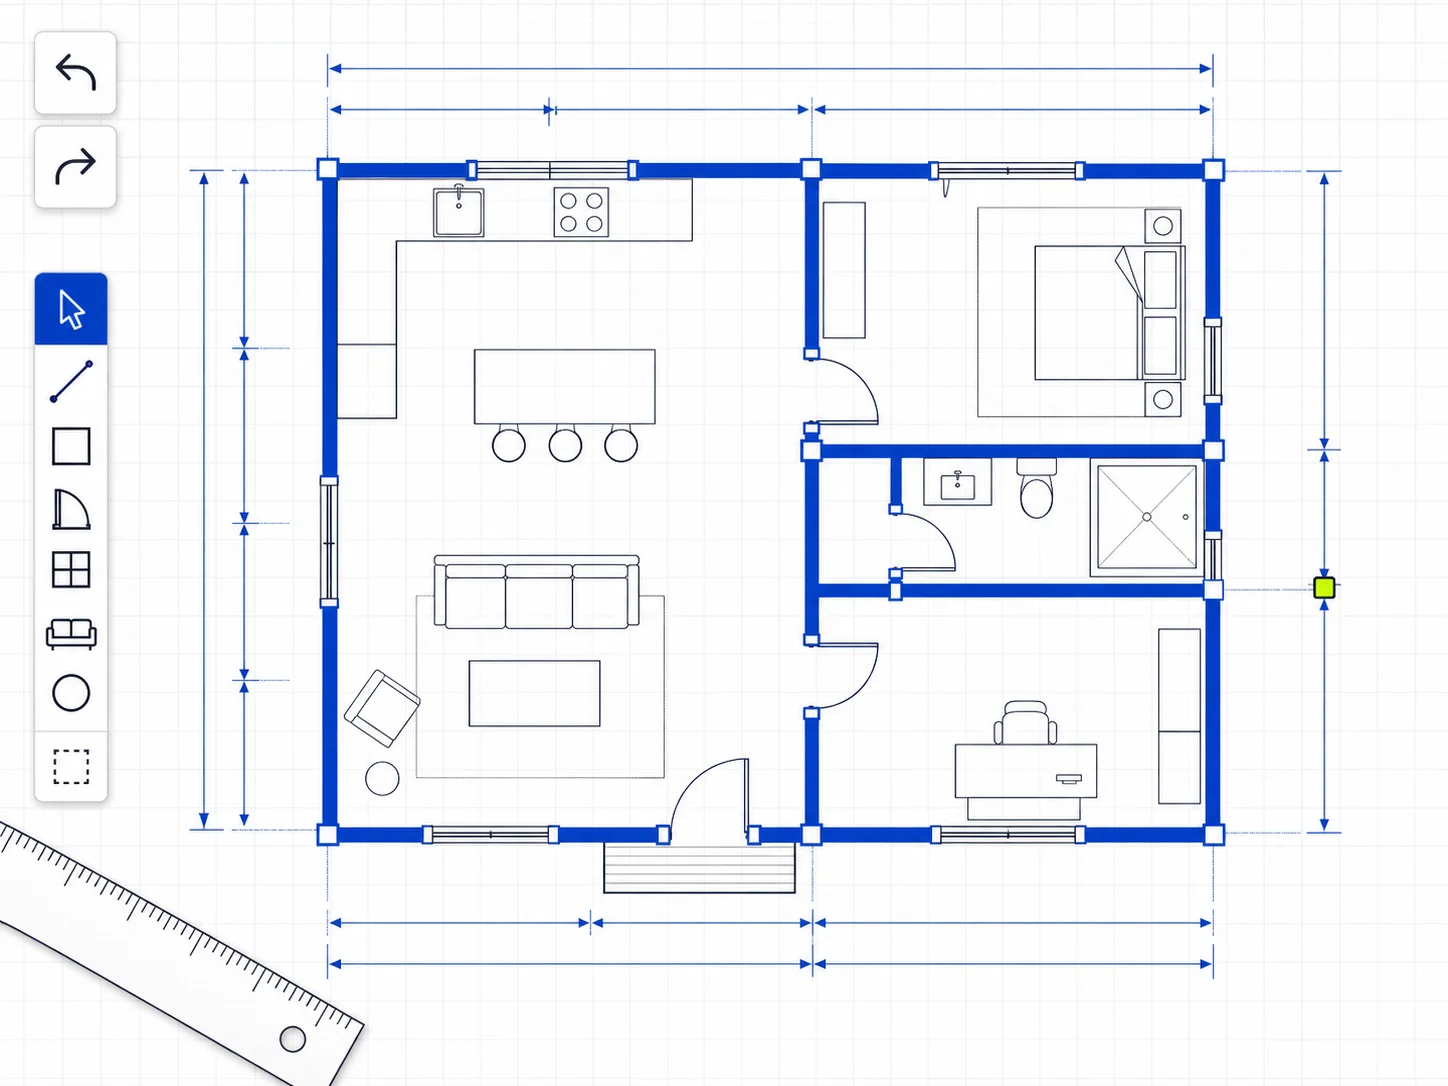
Draw the shell before the room names
Choose Wall or Line, click the first point, and finish at the second. A preview shows the segment, while grid snapping helps nearby points align. Build the shell before adding labels and furniture. If a segment lands badly, Undo it instead of drawing around the mistake.
Draw the first wallPlace only the objects that change the decision
Open the shape library for walls, doors, windows, furniture, and fixtures. Browse by room or object category, then add only the pieces that test access, daylight, circulation, or fit. Use the online Floor Plan Creator to keep the canvas readable: every object should earn its place.
Open the shape library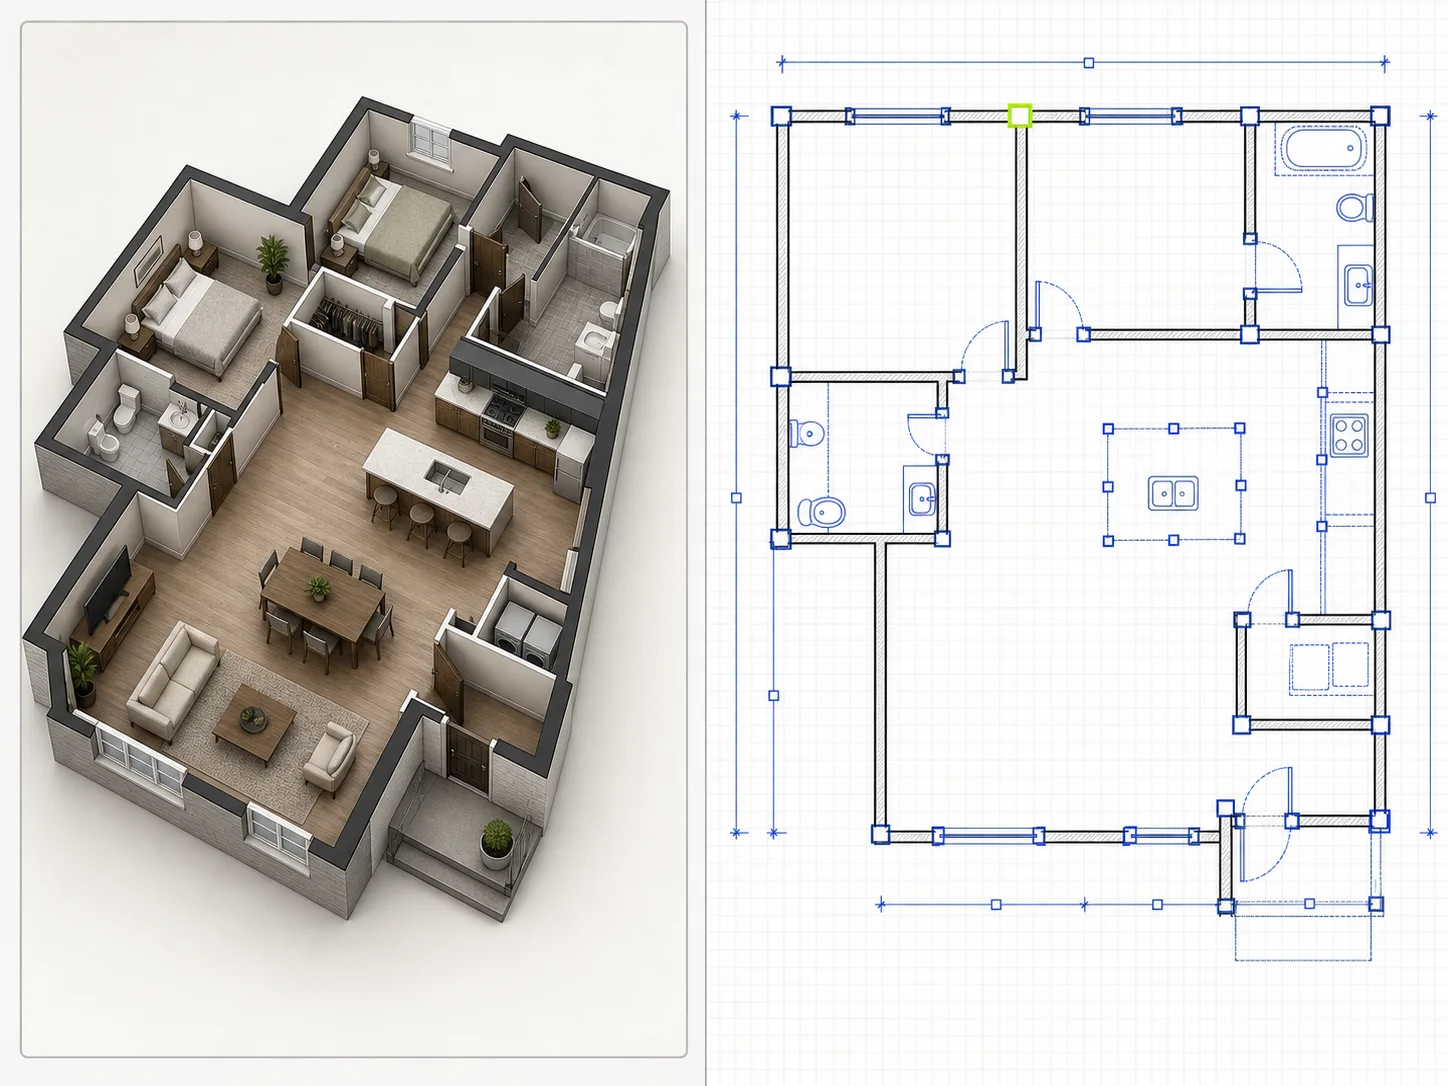
Move, resize, rotate, and compare
Select an object to change its position, size, rotation, or color. Pan and zoom when the canvas gets crowded, then compare the whole route before and after the edit. The grid helps you line things up; it does not turn pixels into verified dimensions.
Adjust an object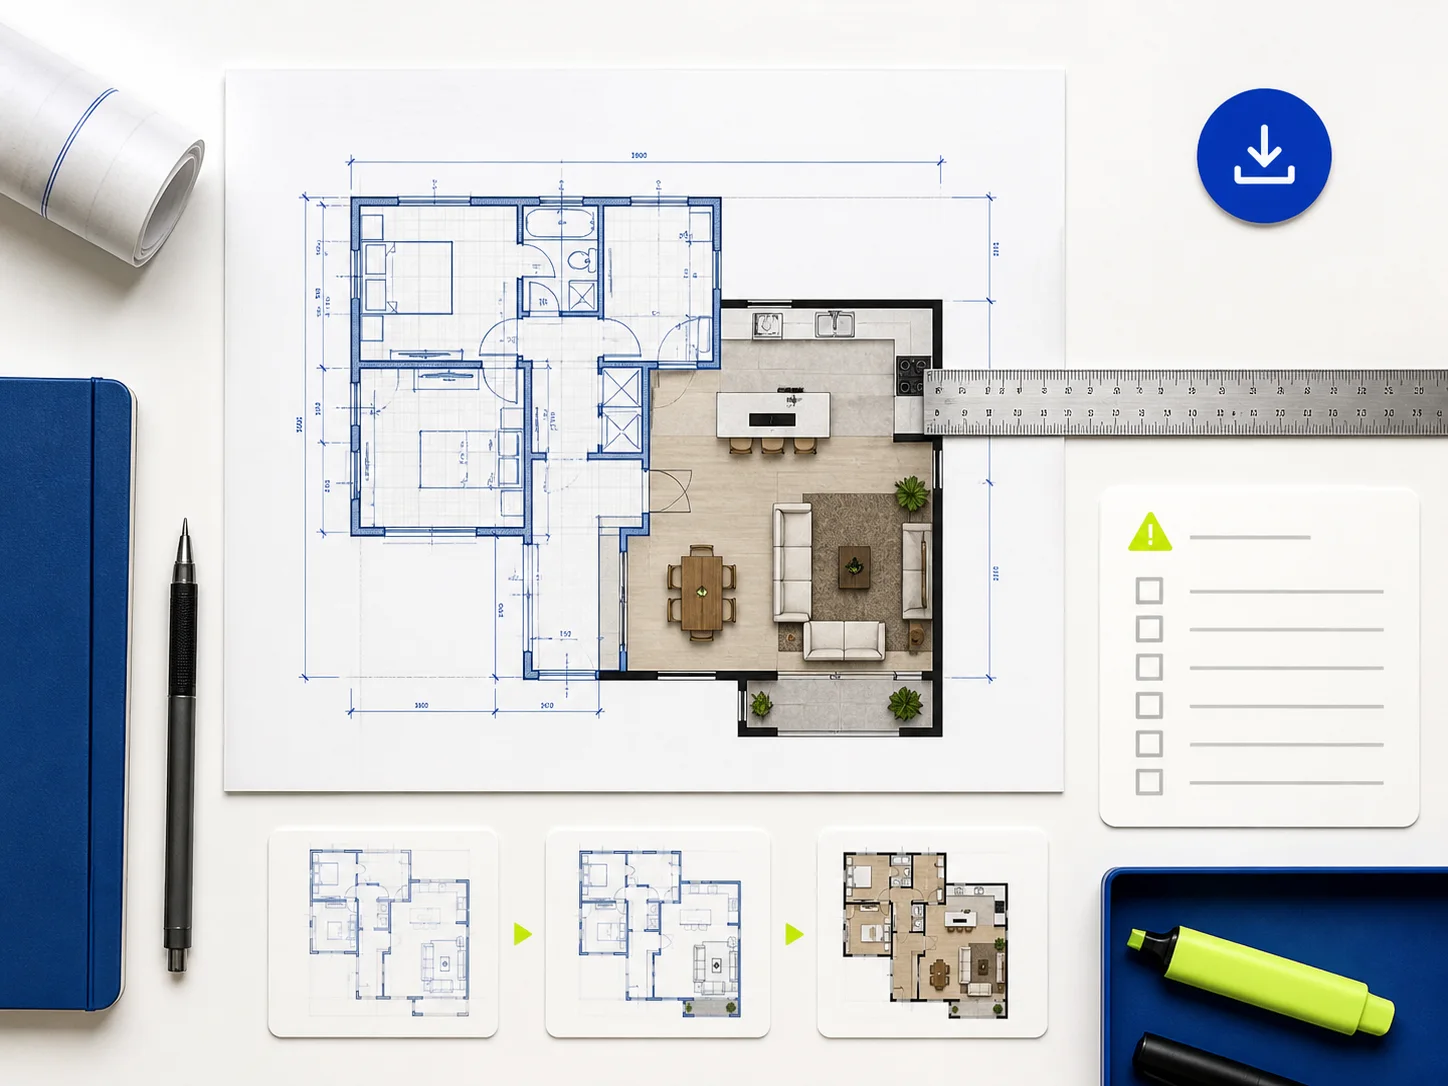
Keep the project close at hand
The Floor Plan Creator saves the current project locally in this browser as you edit. Check for “Saved locally” before leaving. Export a JSON copy before changing browsers or devices, or before clearing browser data. Import only material you are allowed to use.
Return to the canvas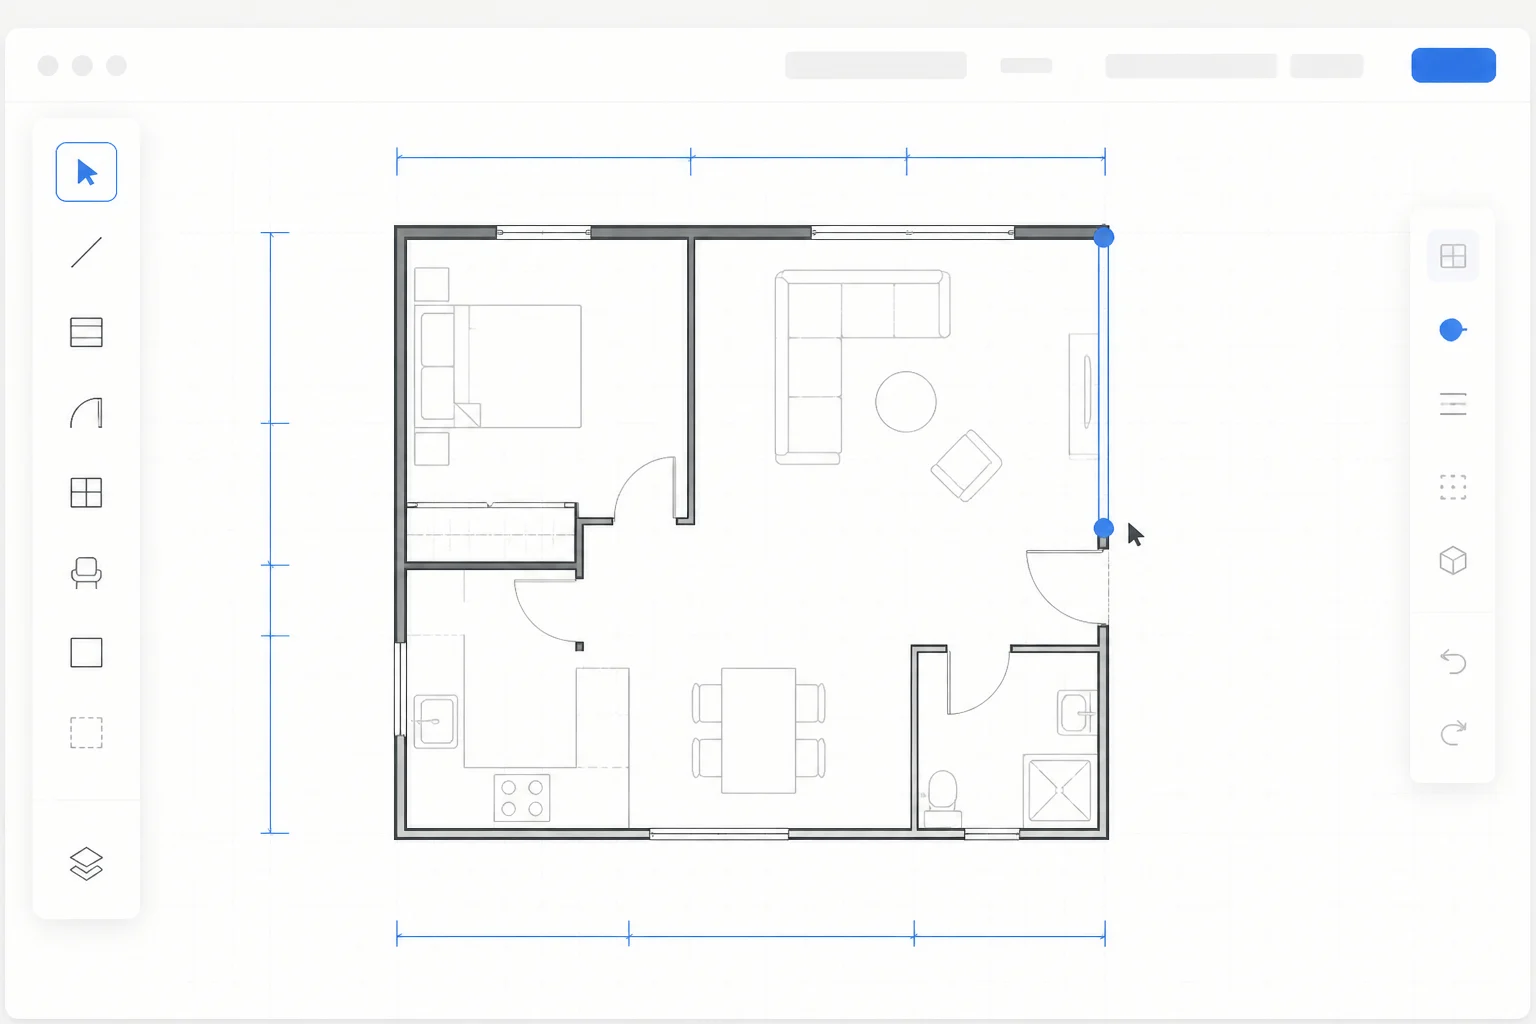
A three-pass workflow
How to Use the Floor Plan Creator Without Overthinking It
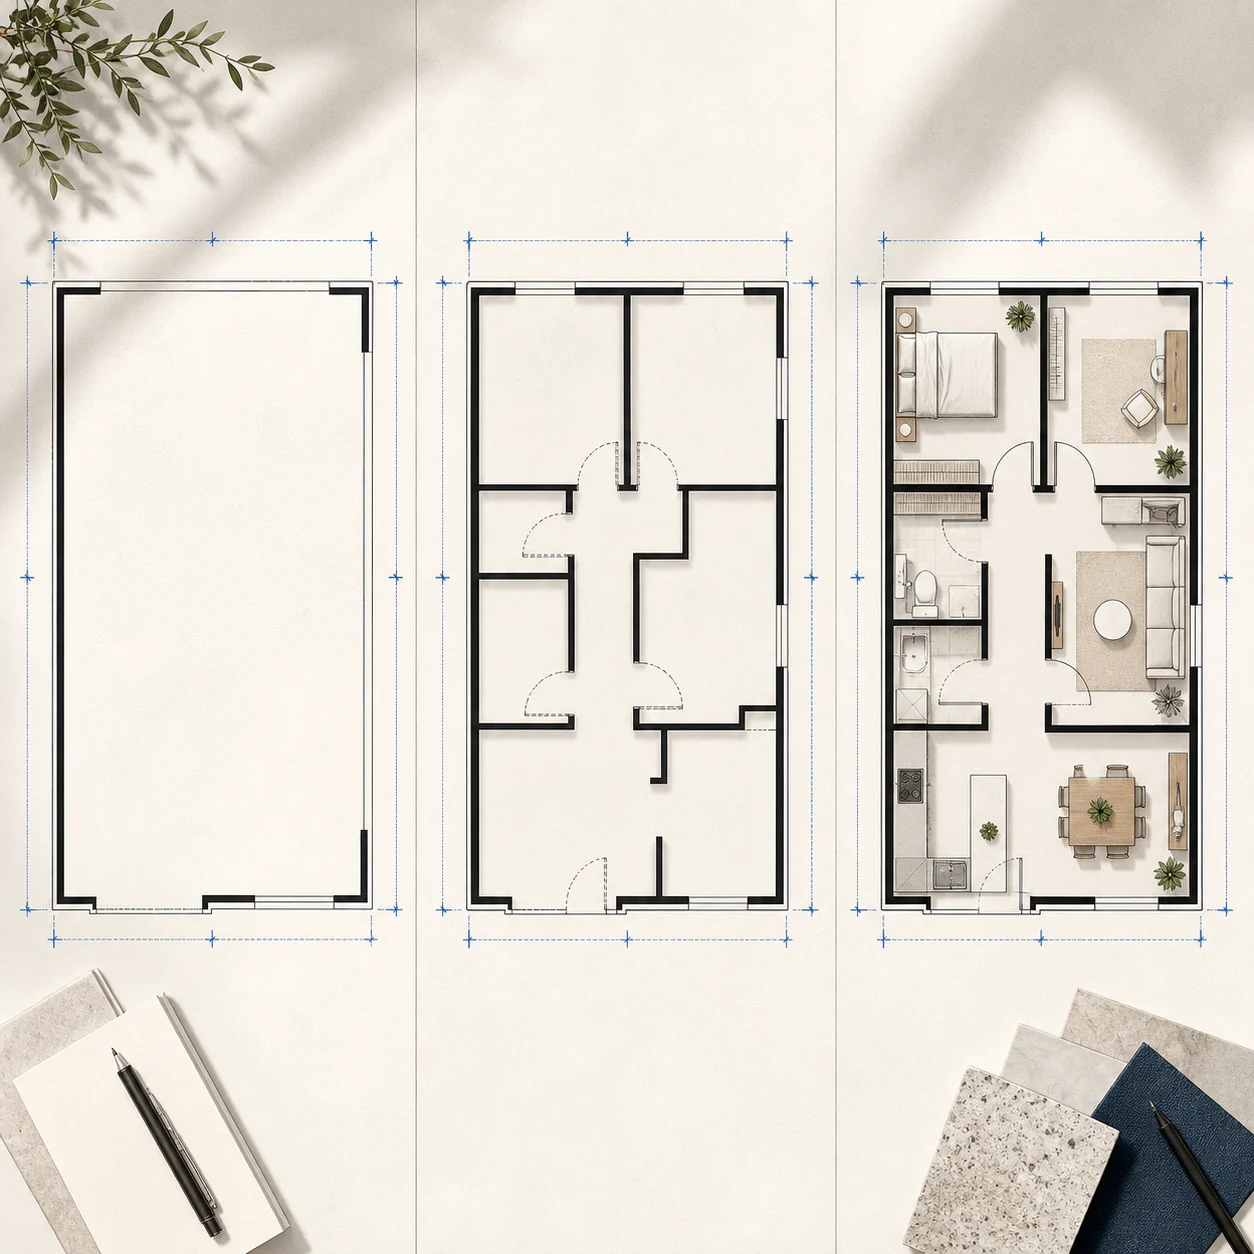
1. Set the boundary
Open the sample to learn the controls or clear it for a blank start. Draw the outside walls first. Zoom out and check the whole shell before dividing rooms. Treat any imported sketch or image as a visual reference, not a measured base.
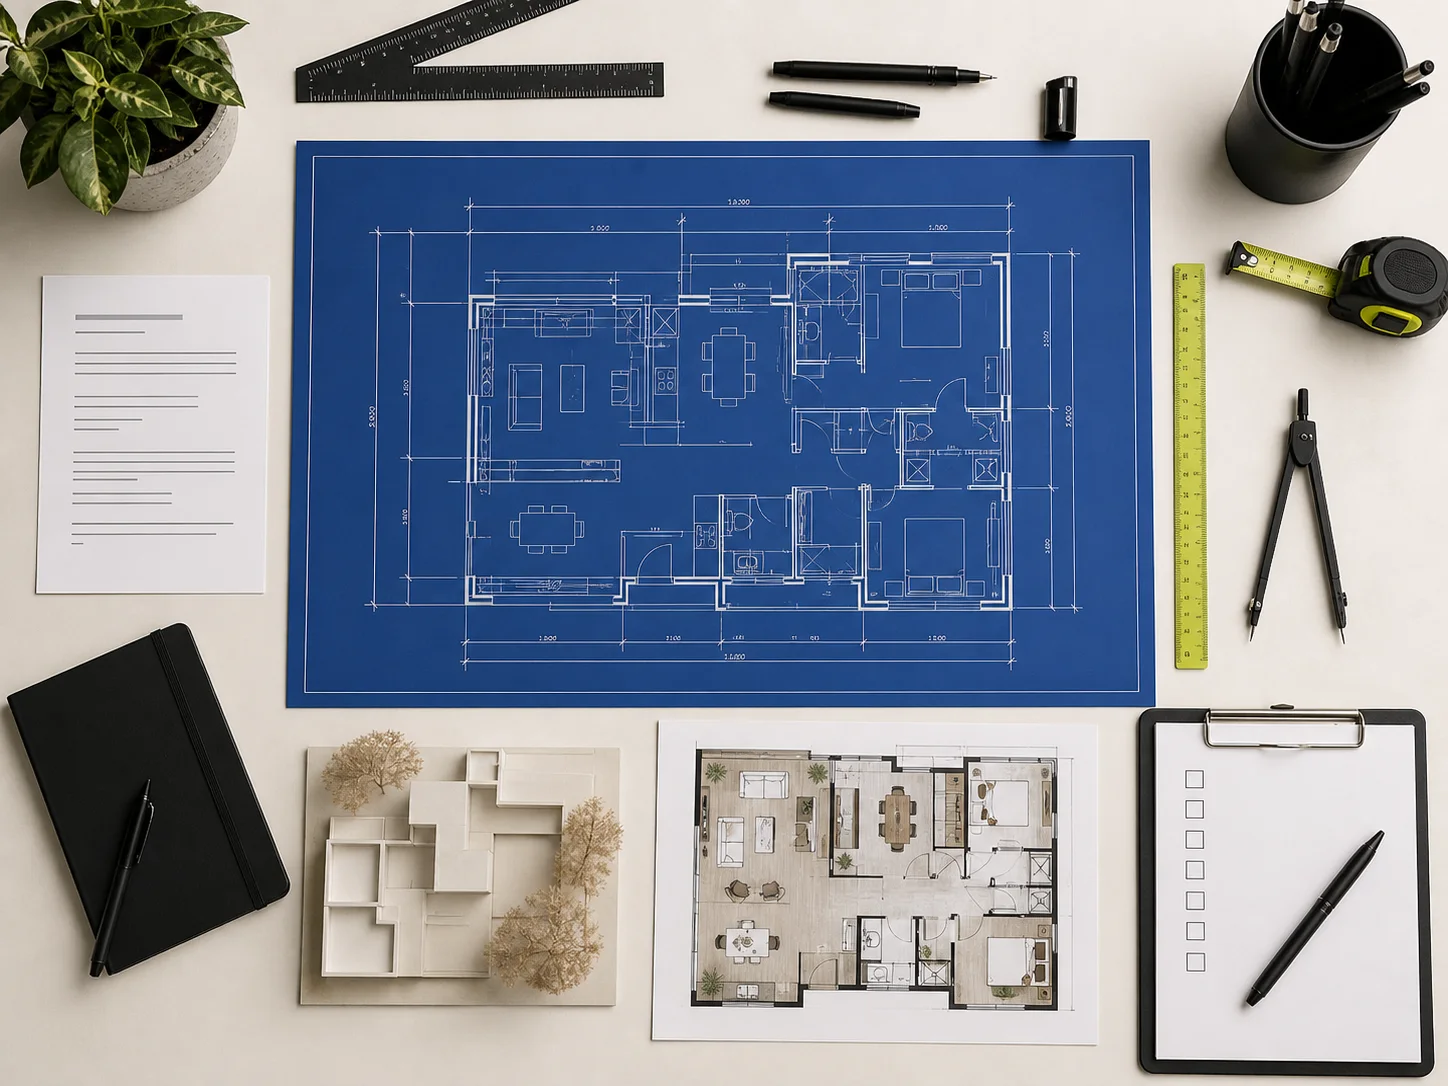
A clean outer shell that gives the layout a starting point
2. Add rooms and openings
Divide the shell with internal walls, then place doors and windows. Trace the route through shared, private, and service spaces. If a wall creates a dead end or door conflict, undo it and try again. Add room labels after the route works.
A connected layout you can discuss room by room
3. Test the objects that matter
Add only the furniture, fixtures, and labels needed to test fit. Zoom out for the whole route, zoom in on tight corners, and move anything that blocks the plan. Check that the local save has finished. Export a JSON project when you need a portable backup or want to continue in another browser.
An editable planning draft ready for comparison and feedback
Useful before anything is fixed
Put the Online Floor Plan Creator to Work
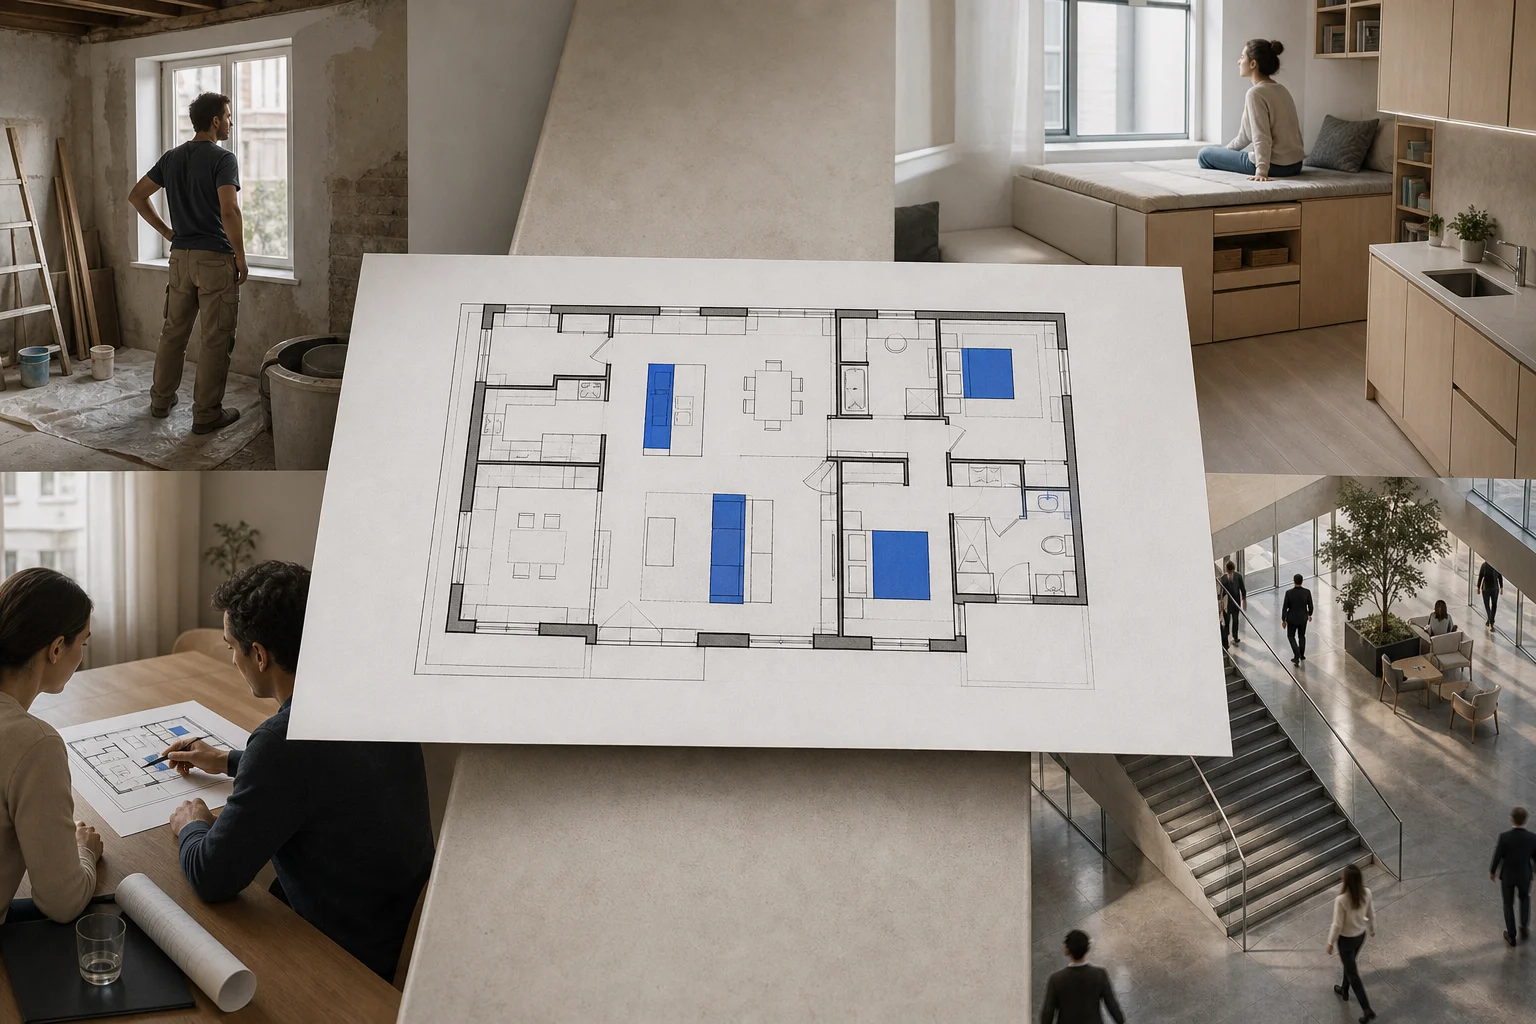
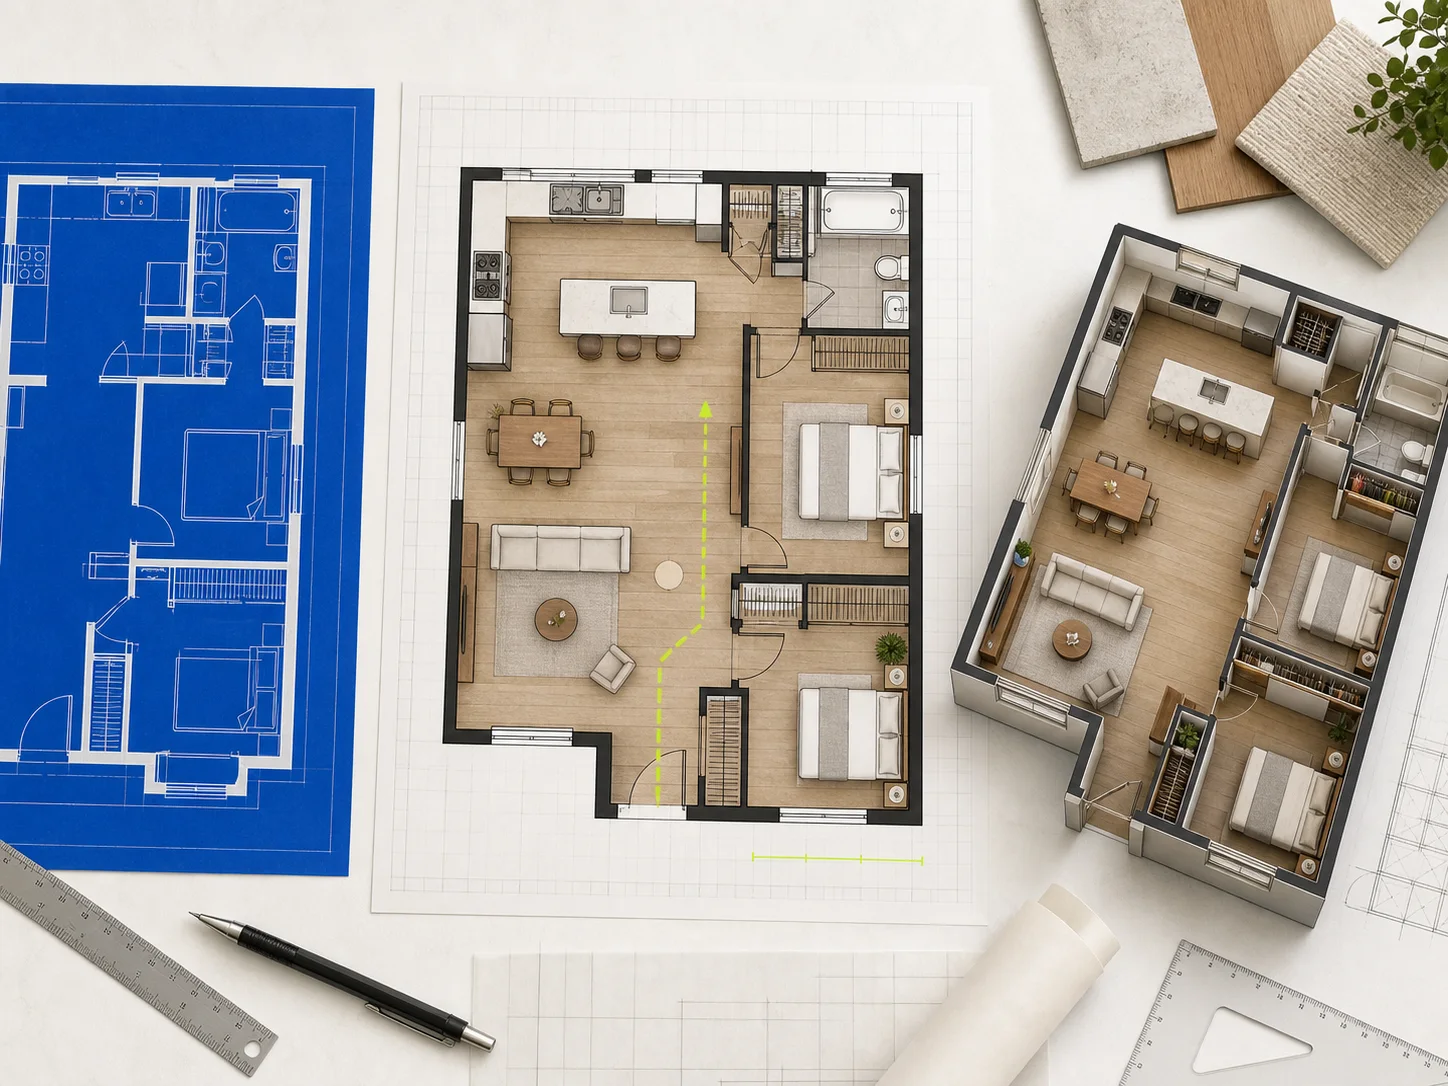
Bring a renovation idea down to earth
Draw the current shell, mark fixed openings, and test one change at a time. The floor plan makes storage, privacy, circulation, and furniture fit easier to discuss without pretending to settle structural questions.
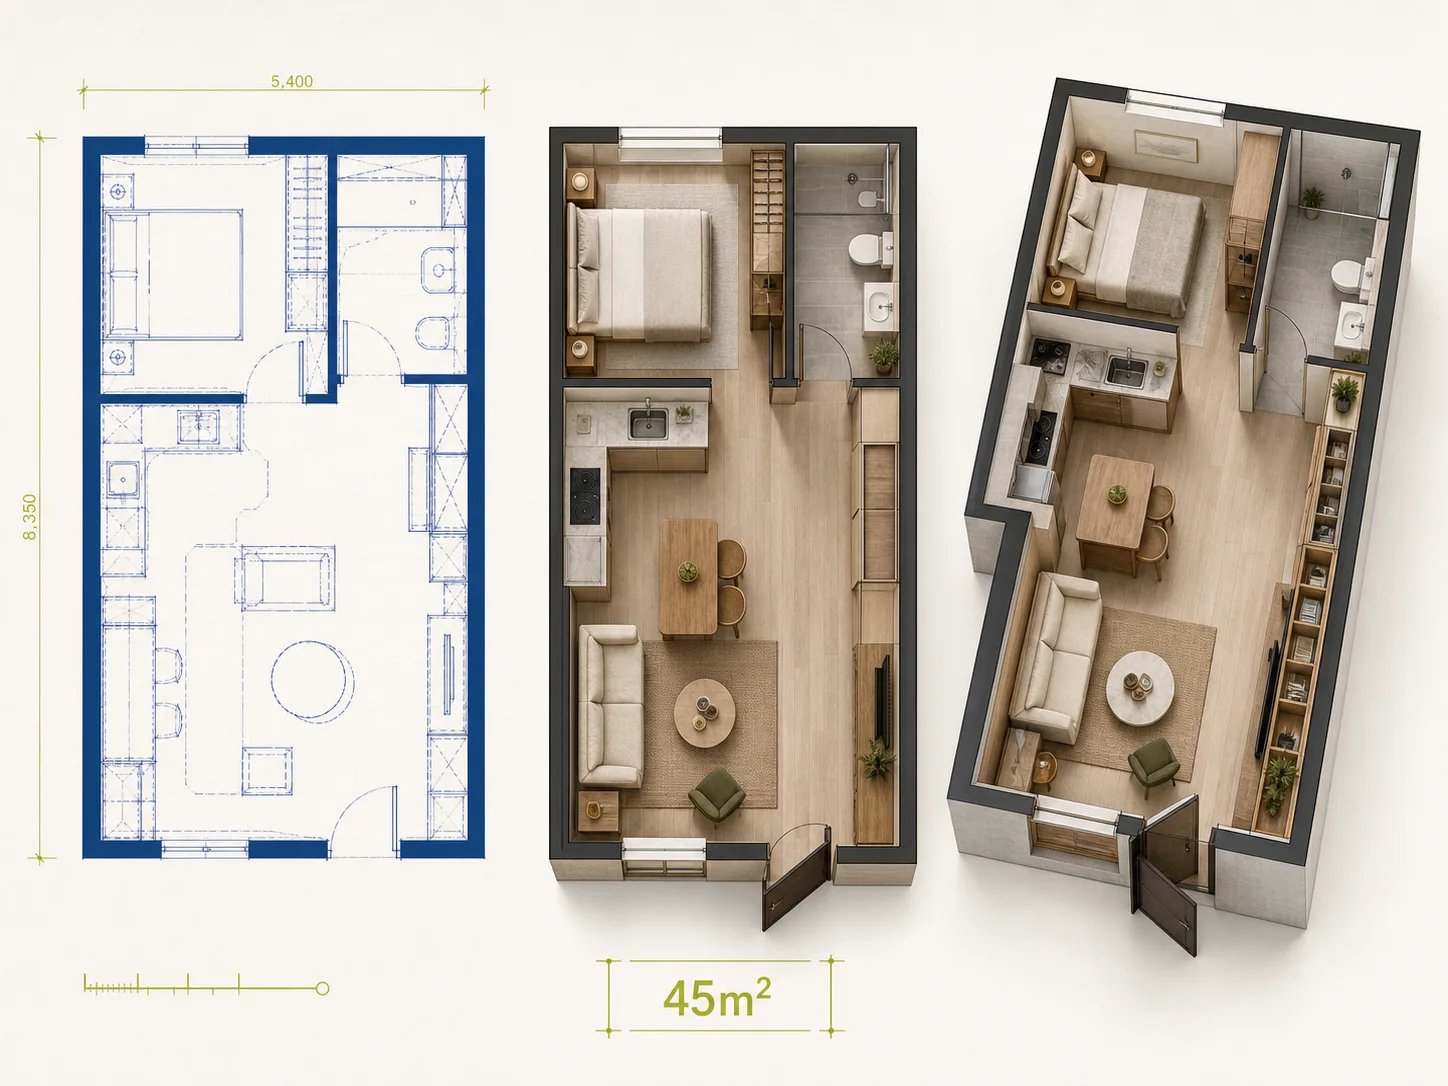
Compare two ways to use a small footprint
Keep the outside shell, export a project copy, and change the rooms or furniture. The Floor Plan Creator makes tradeoffs visible: more storage may tighten a route, while a larger shared room may reduce privacy.

Make feedback point to something concrete
Keep walls, openings, labels, and important objects easy to scan. Reviewers can point to a room, route, or collision instead of interpreting a long description. Record important decisions outside the canvas.
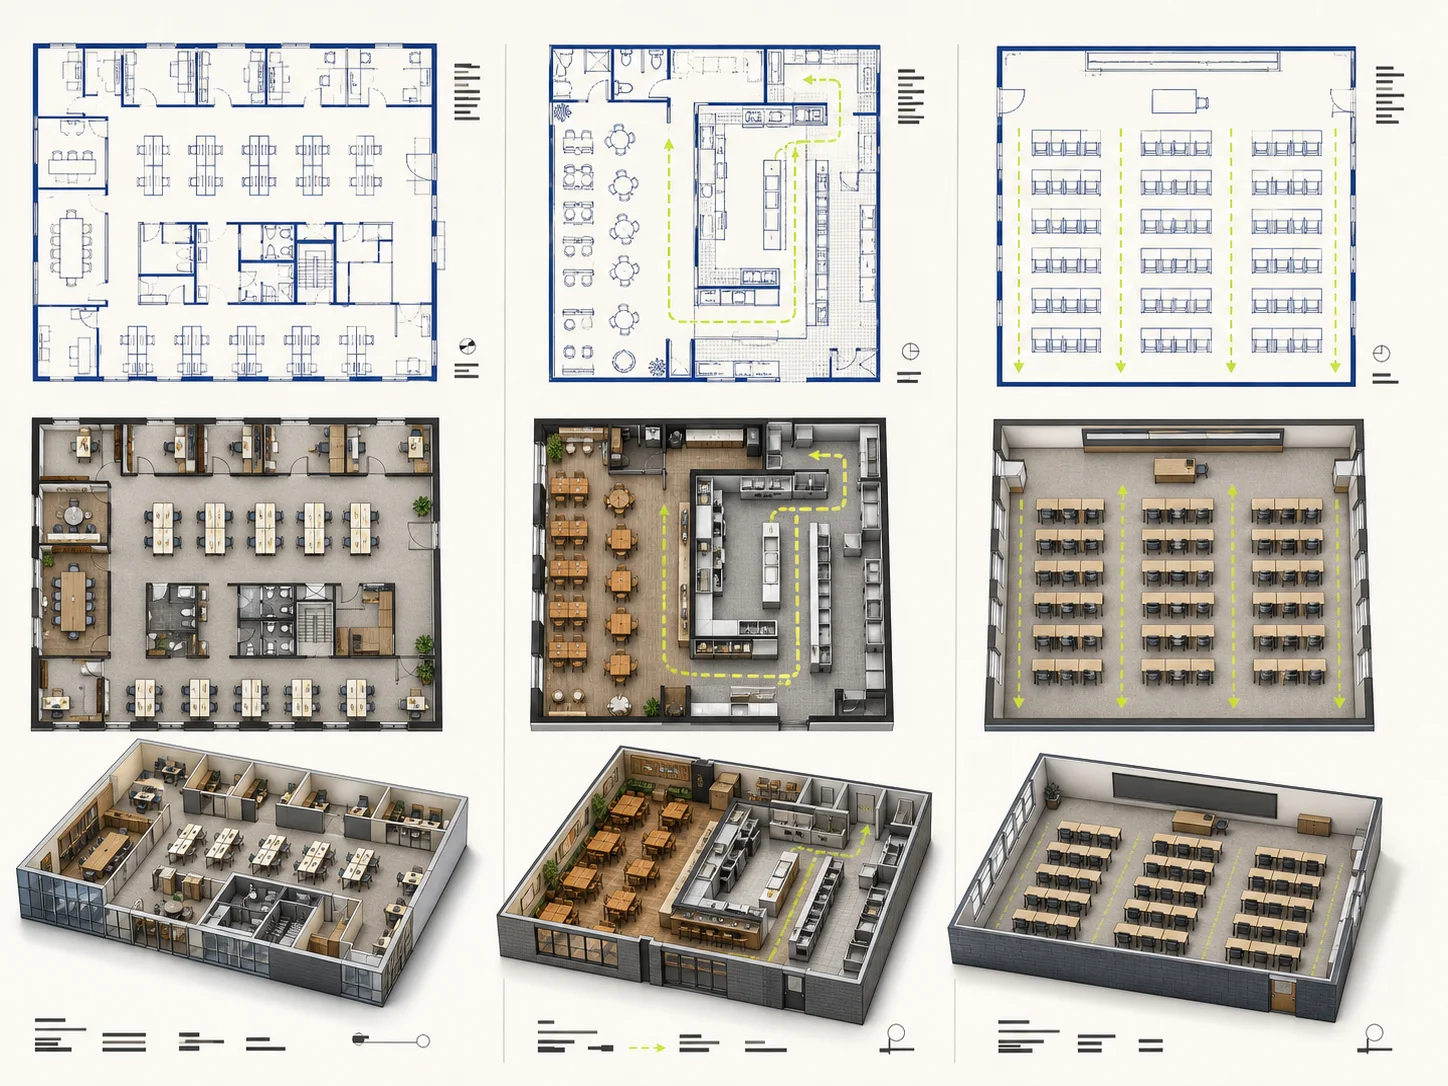
Trace the busy route through a commercial space
Map customer, staff, storage, service, and exit zones before styling. Trace the busiest journeys and crossings. Occupancy, accessibility, fire safety, equipment, and local requirements still need specialist review.
Keep the next step relevant
Where to Go After the Floor Plan Creator
Floor Plan Generator
Turn a room list, rough size, and one layout priority into an image concept you can bring back as a reference.
Floor Plan Editor
Upload an existing layout image, mark an optional focus area, and describe one visible revision.
Plan information
Review the public plan and billing information.
Contact and support
Find the current route for product, account, privacy, or pricing questions.
Straight answers before you draw
Floor Plan Creator FAQ
What can I do in the Planorial Floor Plan Creator?
Draw walls and lines; add doors, windows, labels, furniture, and fixtures; then move, resize, rotate, recolor, or delete objects. You can select several objects, copy, cut, paste, duplicate, reorder, pan, zoom, snap to the grid, undo and redo, import supported files, and export a copy. It is a layout canvas, not professional documentation.
Is the online Floor Plan Creator accurate to real dimensions?
No. The grid is measured in pixels, not real-world units. Use verified project records and qualified review for structure, accessibility, services, code, and construction decisions.
Can I use it if I have never drawn a floor plan?
Yes. Start with the sample and change one thing: move an object, draw a wall, undo it, and try again. On a blank canvas, work in order: outside shell, internal walls, openings, then the furniture needed to test fit.
Does the Floor Plan Creator make construction drawings?
No. It makes an editable planning diagram from what you place on the canvas. It does not survey a property, identify structure or utilities, verify accessibility, interpret codes, calculate loads, or provide professional approval. Verify critical dimensions and technical requirements before purchasing, permitting, or building.
Does the browser-based Floor Plan Creator save my work?
Yes. The current project is saved locally in this browser as you edit. It does not sync across browsers or devices. Export a JSON project file when you need a portable backup or want to continue elsewhere.
Which files can I import and export?
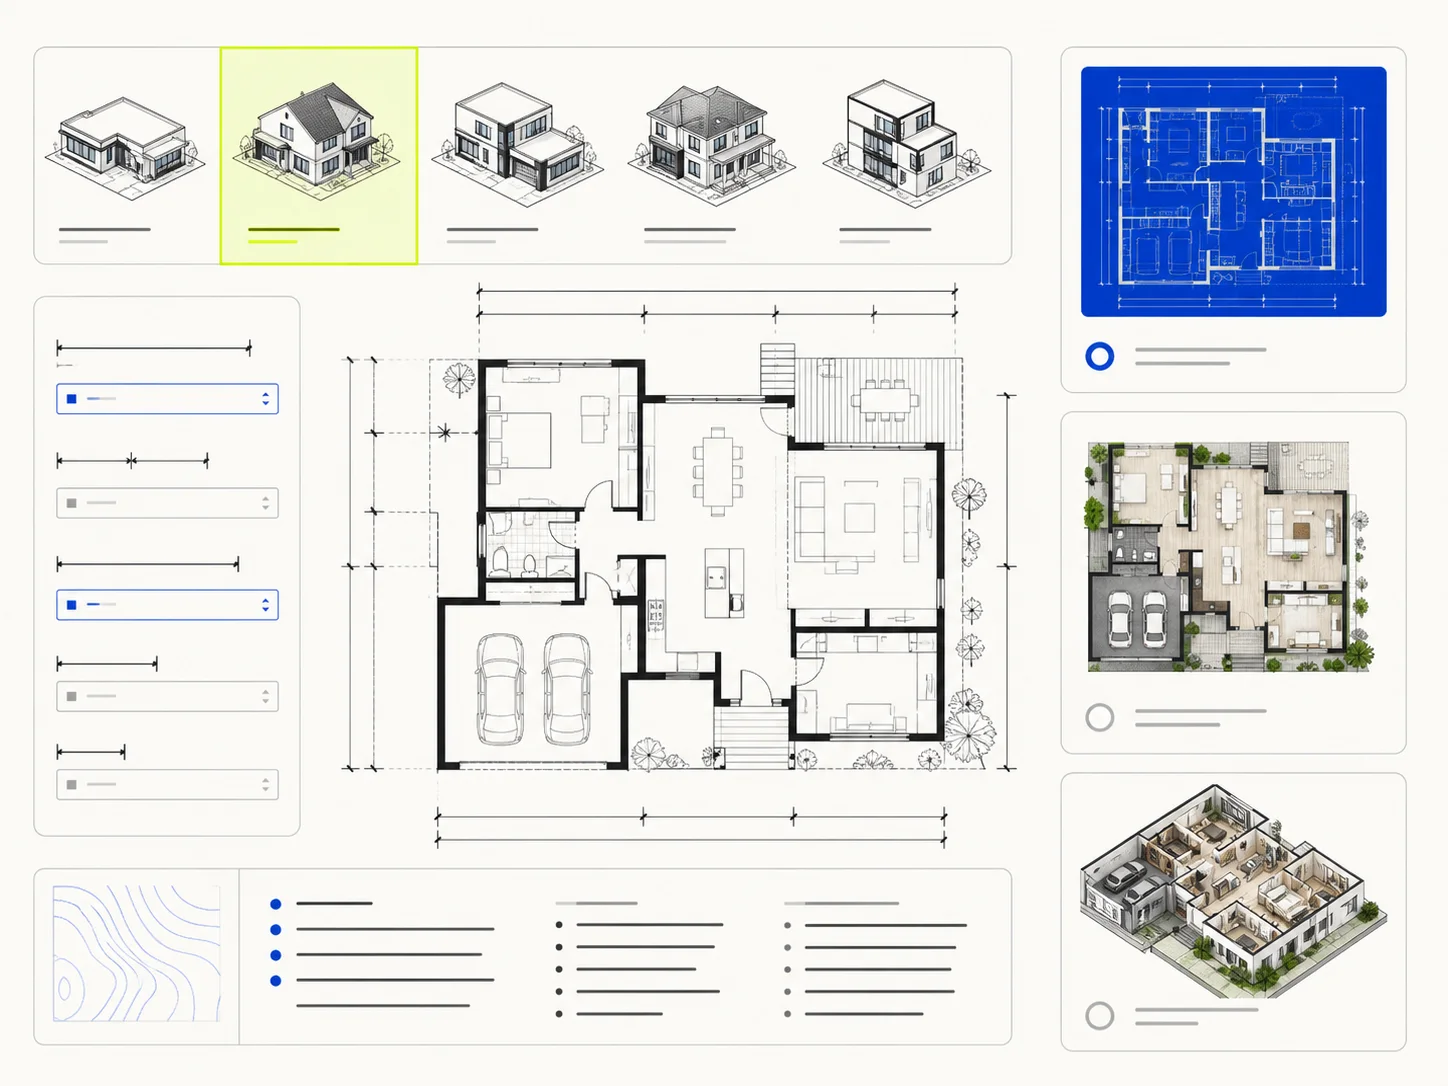
Import accepts supported editable geometry from JSON, SVG, and DXF files. PNG, JPG, and WebP files up to 5 MB can be visual references. Export offers PNG, JPG, SVG, JSON, and DXF. Imports keep only the elements this editor supports, so inspect the result before continuing.