
Start with a clear floor plan
Upload one PNG, JPEG, or WebP image up to 6 MB. Use an upright image where walls, doors, windows, and room labels are easy to see.
Upload a floor plan image, mark the room or area you want to change, and describe the edit. Choose a blueprint, 2.5D, or 3D isometric view, then compare the new concept image with the original.
Generated edits are concept images, not construction drawings. Compare each result with the original and verify dimensions, structure, services, access, and code requirements before using it in a project.
Edited floor plan
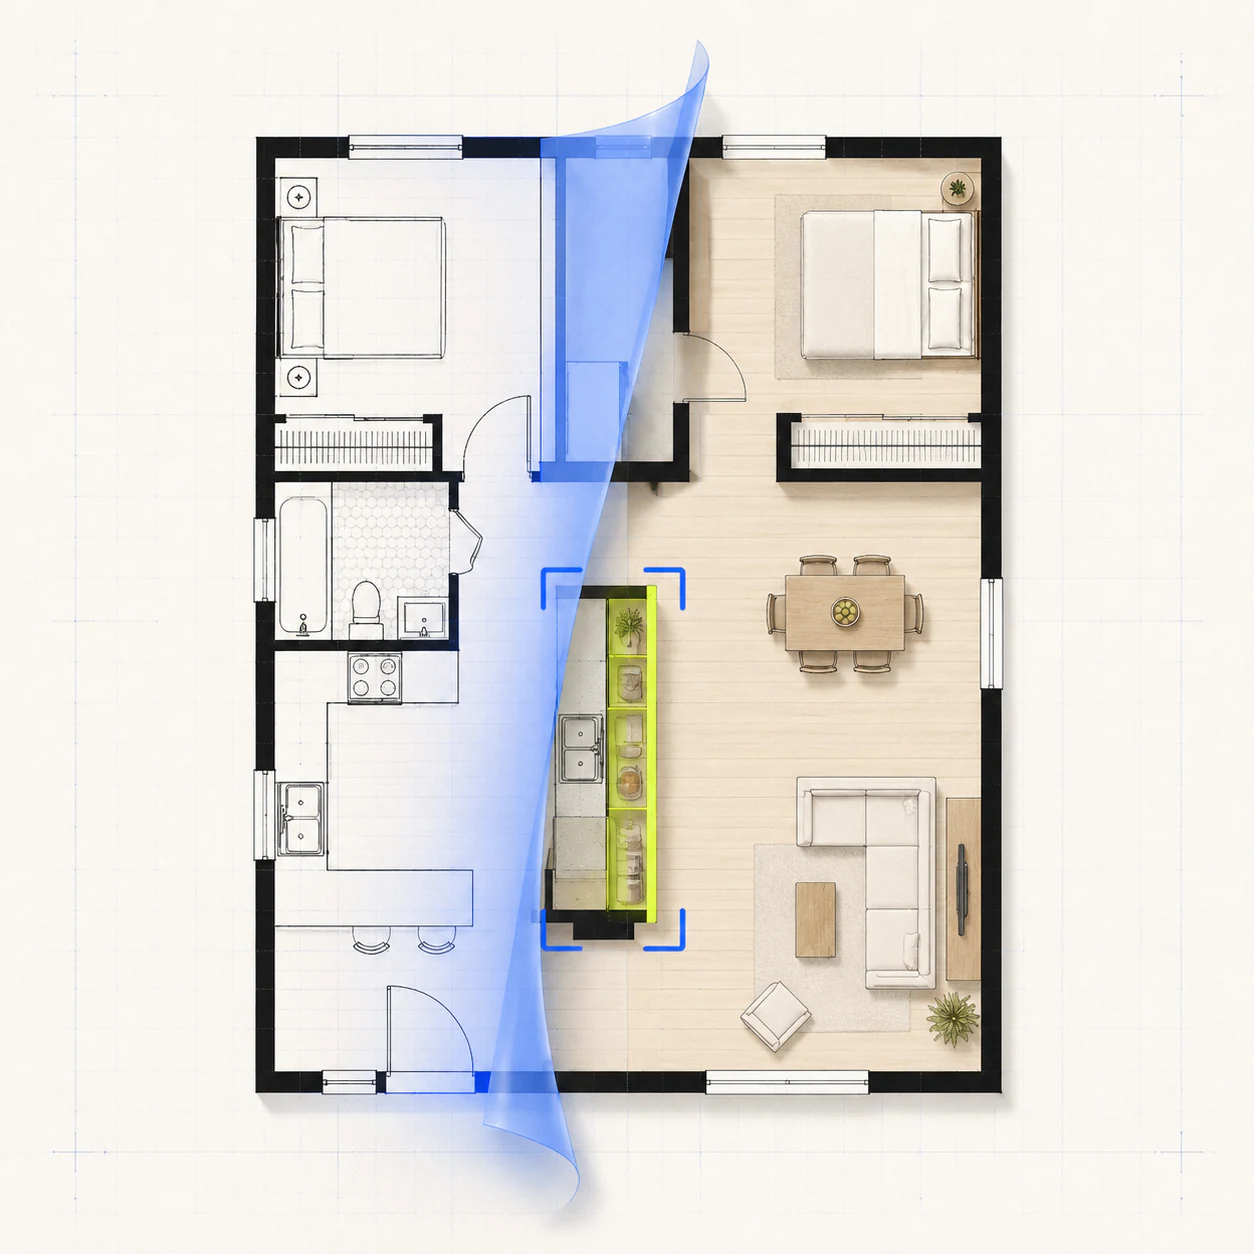
Upload the original plan, mark an optional focus area, write the change, and choose the output view.
Sign in to use prompt improvement.
Popular floor plan edits
Checking your available credits…
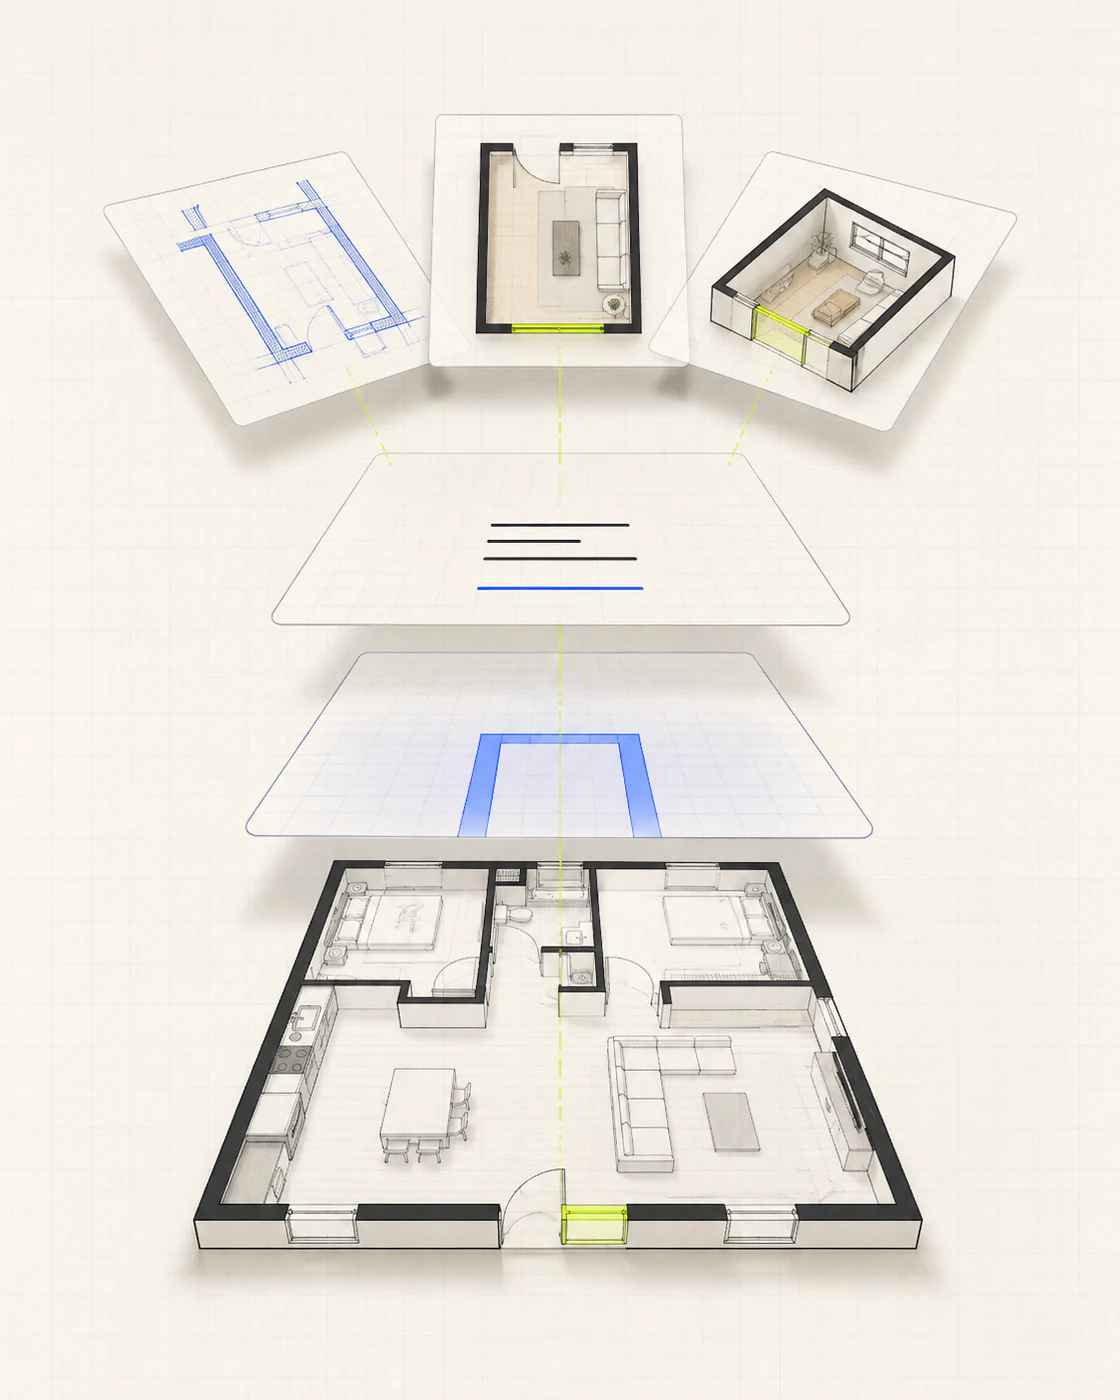
What the editor needs
Start with a clear plan and a specific instruction. Upload the image, mark a room or zone if needed, then choose the view you want to create.
Upload one PNG, JPEG, or WebP image up to 6 MB. Use an upright image where walls, doors, windows, and room labels are easy to see.
Use the brush or rectangle to add an optional blue focus mark. You can erase it, clear it, or step backward and forward before submitting the edit.
Name the room, wall, opening, storage area, furniture group, or circulation route you want changed. State which nearby parts should remain unchanged.
Select Blueprint for a top-down plan, 2.5D for a furnished near-vertical view, or 3D Isometric for an open-roof presentation image.
Common floor plan edits
Use the editor to explore a layout change without redrawing the entire plan. Every result is a concept image and should be checked against the original.
Test a wider opening between a kitchen and living room, add a privacy partition, or move a doorway while keeping the original plan nearby for comparison.
Try another door position, remove a dead-end route, or separate customer, staff, and private movement within the existing floor plan.
Ask for a pantry, utility area, wardrobe, home office, or another defined use without rewriting the full layout brief.
Create a blueprint, furnished 2.5D plan, or 3D isometric concept from the same source image and edit instructions.
A simple three-step workflow
Upload the original, describe the change, and compare the edited image with the plan you started from.
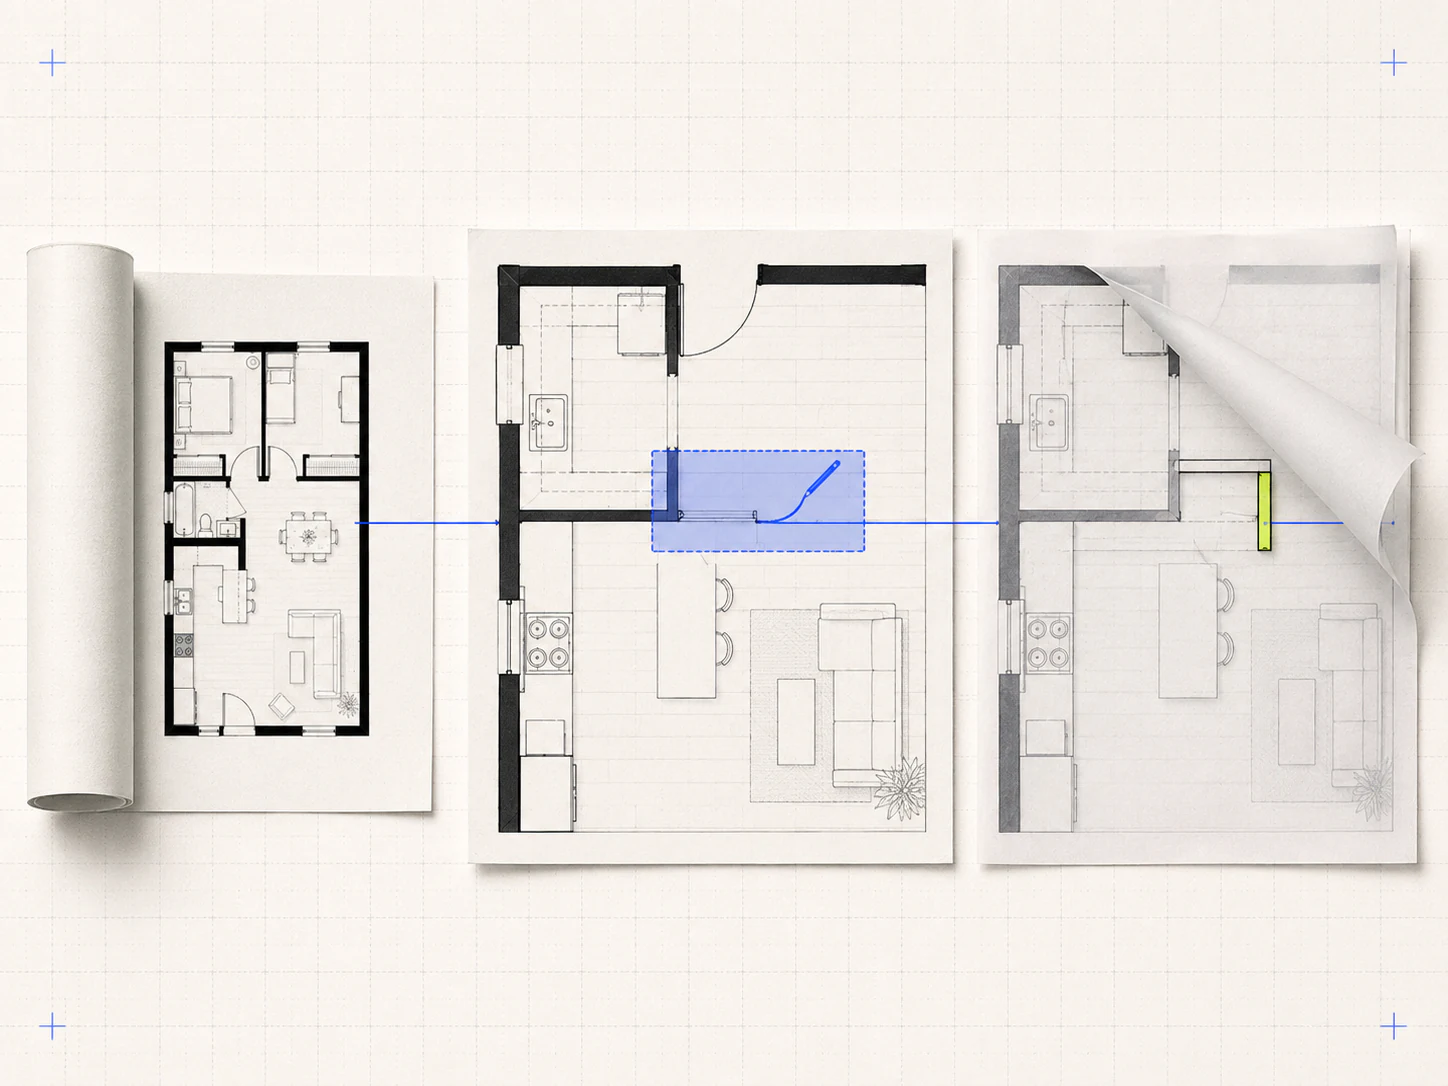
Crop away unrelated borders, remove confidential notes, and check that the walls, openings, room boundaries, and labels you need are visible.
Add a focus mark when the target is not obvious. Write the main change and name the rooms, walls, openings, or routes that should stay unchanged.
Check for missing rooms, moved walls, blocked access, changed labels, and any edits you did not request. Verify important project facts outside the generated image.
File types, edits, and limits
Find out how uploads, focus marks, edit instructions, output views, and history work in the current editor.
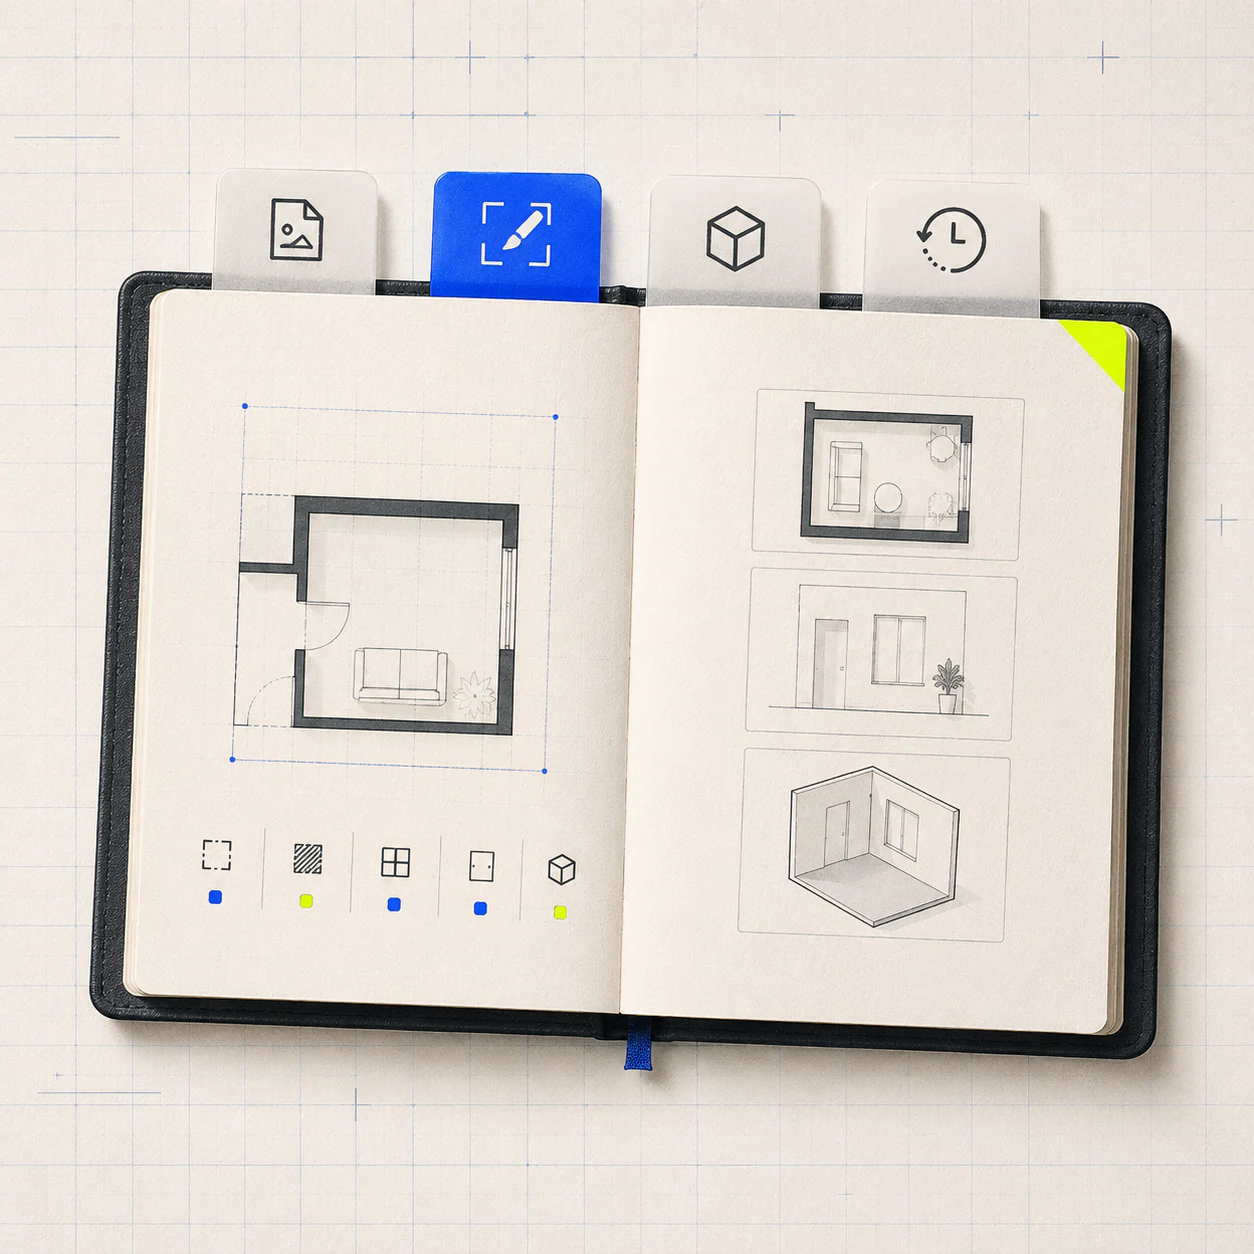
Upload one PNG, JPEG, or WebP image up to 6 MB. Use an upright image with clear walls and openings. The editor does not accept PDF, CAD, BIM, or DXF files.
Upload the original image, mark an optional focus area, describe the change, and choose Blueprint, 2.5D, or 3D Isometric. The editor creates a new concept image for comparison with the original.
No. The focus mark is optional. Use the brush or rectangle when the target is not obvious, and use Eraser, Undo, Redo, or Clear to correct the mark. Without a mark, the written instruction applies to the full image.
Not necessarily. The blue annotation tells the image model where to focus, but it is not a CAD mask and does not lock pixels outside the mark. Compare the result with the original and check every room, wall, opening, label, and route for unexpected changes.
You can request a visible layout change such as opening a kitchen, moving a doorway, adjusting circulation, adding storage, revising furniture, or changing the presentation view. Ask for one main edit at a time and state what should remain unchanged.
No dimensional accuracy is guaranteed. The editor uses the uploaded image as visual context, not as verified CAD geometry. Check every important measurement, structural condition, access requirement, service route, and code constraint separately.
The Floor Plan Editor starts with an existing image and creates a new concept image from written instructions. The Floor Plan Creator is a manual vector canvas for drawing and arranging walls, openings, labels, and furniture.
Signed-out history lasts for the current page session. Signed-in history holds up to nine completed images for 30 days. You can download a result or use it as the source for another edit.
Ready to edit an existing plan?
Upload the original plan, remove confidential details, mark an optional focus area, and describe the edit. Keep the original nearby so you can check every change in the generated image.