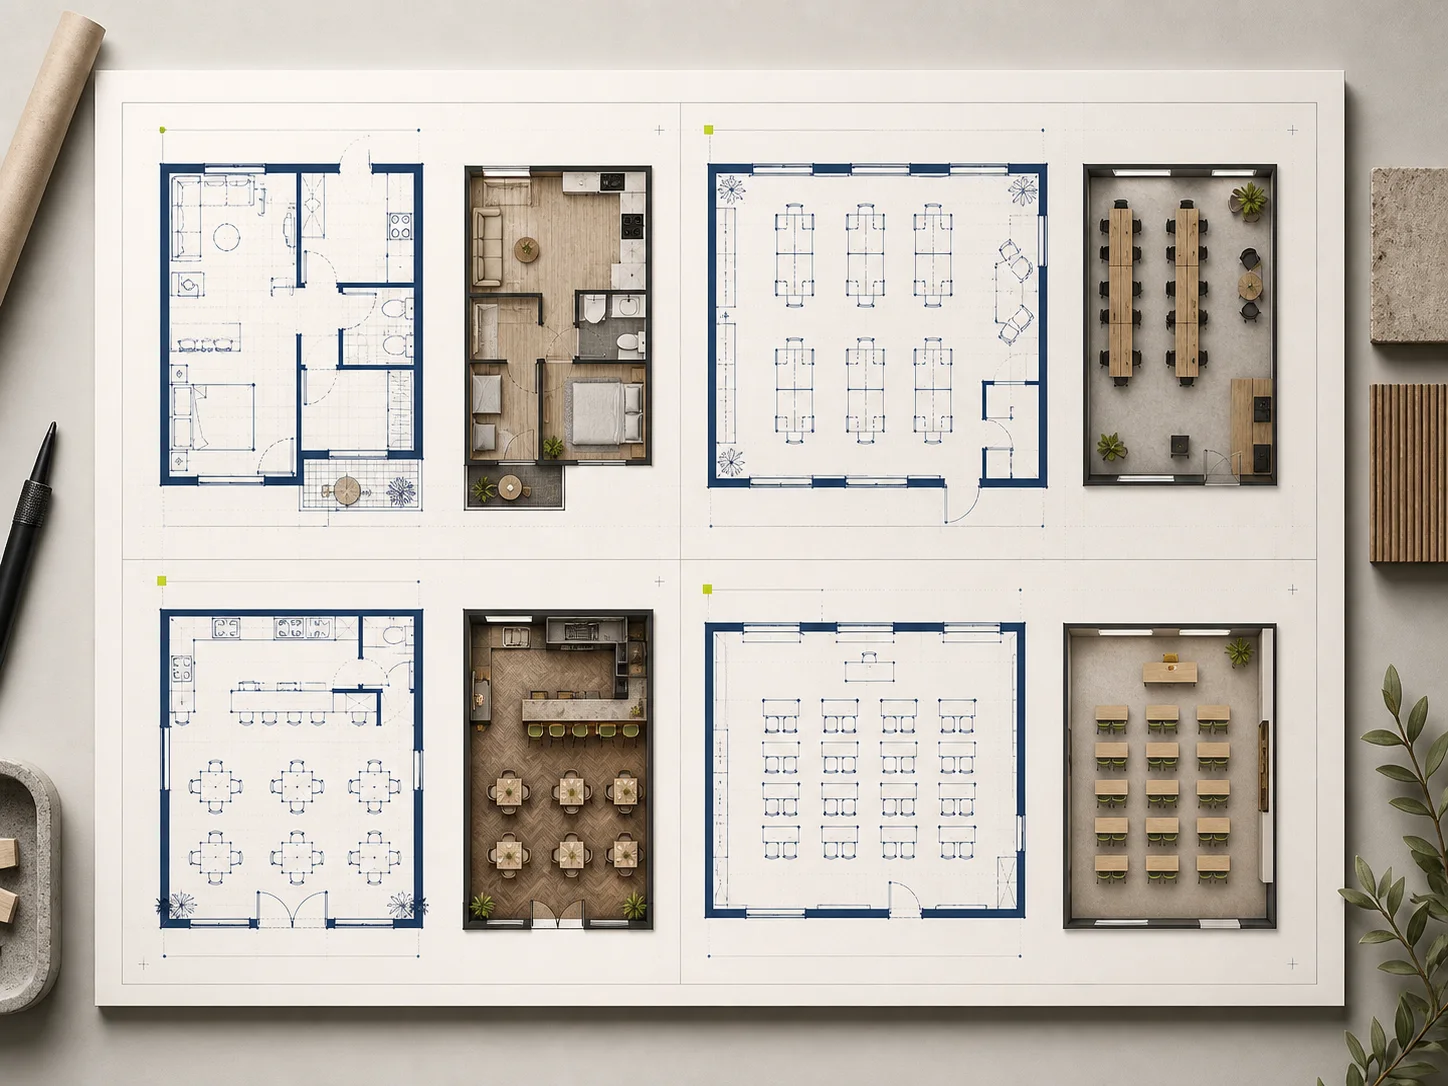
Start with what you know
Choose the space type, enter a target size or area, and name the rooms and relationships that matter.
From brief to layout concept
Planorial is an online floor plan maker that turns a written brief or existing plan image into a visual concept you can compare and revise. Use it to test room relationships, circulation, and presentation options before you commit, while treating every result as a concept rather than a verified building document.
Generated plans are visual concepts. Check critical dimensions, structure, access, services, and local requirements before using a result for professional or construction work.
Sign in to use prompt improvement.
Start with an example
Checking your available credits…
From rough idea to reviewable plan
Start from a written brief when you need a new layout. Start from an image when you want to test a change. Planorial keeps the source, size request, output style, and recent results in one workspace, so the next revision still has context.
Choose the space type, enter a target size or area, and name the rooms and relationships that matter.
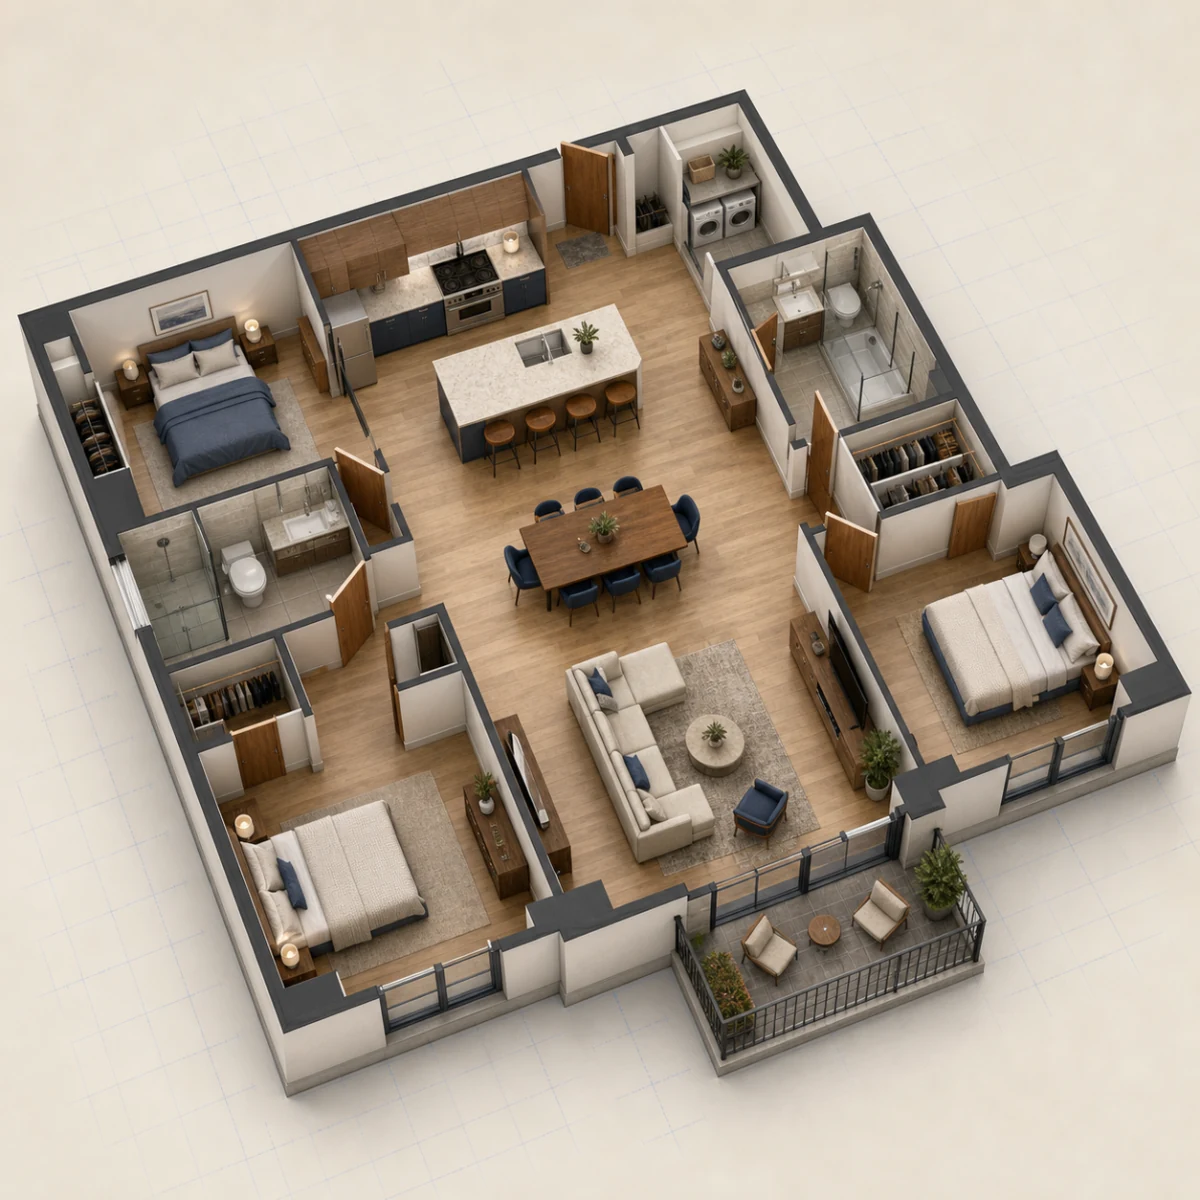
Use Blueprint for structure, 2.5D for a furnished top view, or 3D Isometric for presentation.
Download the result, send it to Edit, request another Render, or reopen it from this page's History.
Controls that shape the result
Planorial currently supports 5 space types—Custom, House, Office, Restaurant, and Classroom—and 3 views: Blueprint, 2.5D, and 3D Isometric. The editor accepts PNG, JPEG, or WebP files up to 6 MB. History holds up to nine completed images for the page session while signed out or for 30 days while signed in.
Choose Custom, House, Office, Restaurant, or Classroom. Each path asks for details that suit the space instead of forcing every project into the same generic prompt.
Enter target length and width in metres or feet, or total area in square metres or square feet. These values guide the image request; they do not turn the result into a scale drawing or replace dimension checks.
Choose Blueprint for a clear top-down plan, 2.5D for a furnished view, or 3D Isometric for a more spatial presentation.
Start from apartment, villa, office, retail, hospitality, or classroom examples, then replace the generic parts with the rooms and priorities from your own project.
Upload a PNG, JPEG, or WebP plan up to 6 MB, describe the change you want to see, and create a revised image while keeping the source visible for comparison.
Download an image, move it into Edit, request another Render, or reopen it from History. Signed-out history lasts for the current page session; signed-in history is kept for 30 days. History holds up to nine images.
Current product facts
| Capability | Current behavior | Important limit |
|---|---|---|
| Start a layout | 5 paths: Custom, House, Office, Restaurant, and Classroom | The generated result is an image concept, not a verified building plan. |
| Choose a view | 3 styles: Blueprint, 2.5D, and 3D Isometric | Changing the view does not verify scale, structure, access, or code compliance. |
| Revise a plan image | PNG, JPEG, or WebP uploads up to 6 MB | The revision remains image-based and is not converted into editable CAD geometry. |
| Reopen a recent result | Up to 9 images: page-session history while signed out, or 30-day history while signed in | History is recent working context, not permanent project storage or a cross-device promise. |
How to use the floor plan maker
Most weak results start with a vague brief. Give the tool a real space, a clear purpose, and enough constraints to judge whether the output solved the problem.
Choose Custom, House, Office, Restaurant, or Classroom. Enter a target length and width or total area, then name the rooms, adjacencies, storage needs, and movement patterns that would make the layout useful. Leave unknown structural conditions out of the request.
Pick Blueprint when you want to discuss room relationships and openings. Choose 2.5D when furniture and circulation matter. Use 3D Isometric when the layout needs a more presentation-ready view. The style changes how the idea is shown, not how accurately it is measured.
Compare the image with the original brief. Look for missing rooms, blocked paths, poor zoning, and furniture that does not fit the intended use. Download a useful version, send it to Edit with one focused change, or Render it in another style.
Start with the decision
The best brief is not “make it better.” Name the problem you are trying to solve, keep the rest of the layout stable, and compare the result against that one decision.
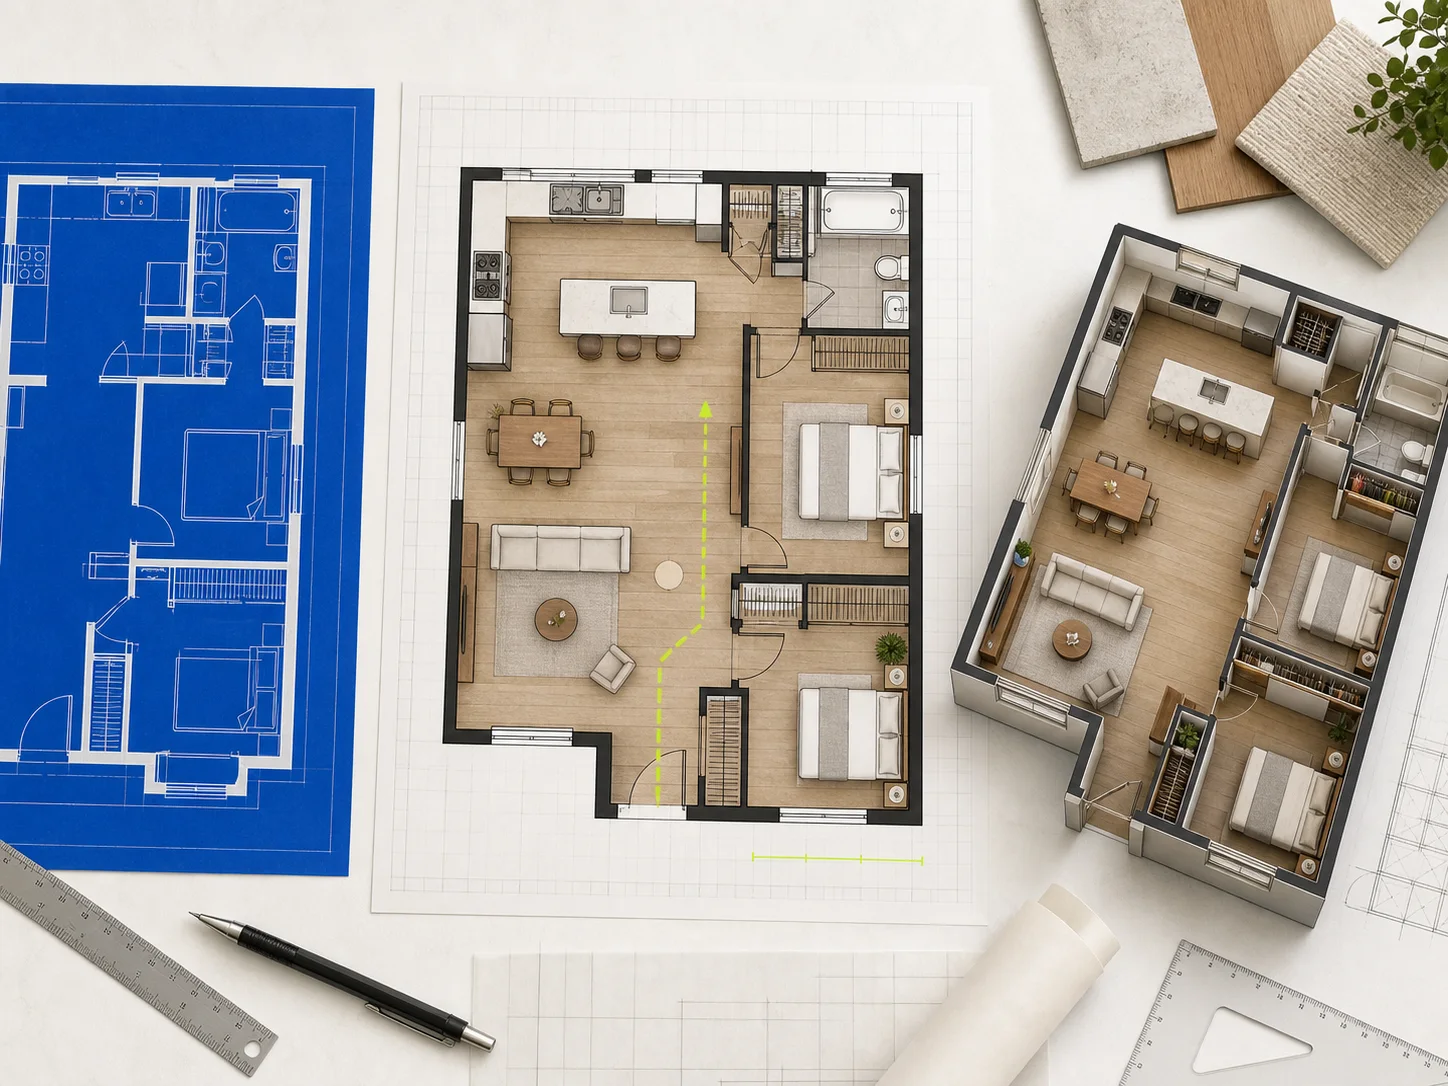
Try an open kitchen, a better entry route, or a new storage wall without pretending the first image is a finished design. Keep the exterior footprint clear in the brief, then look for blocked paths, awkward door swings, and rooms that lost useful space.
Test a renovation layout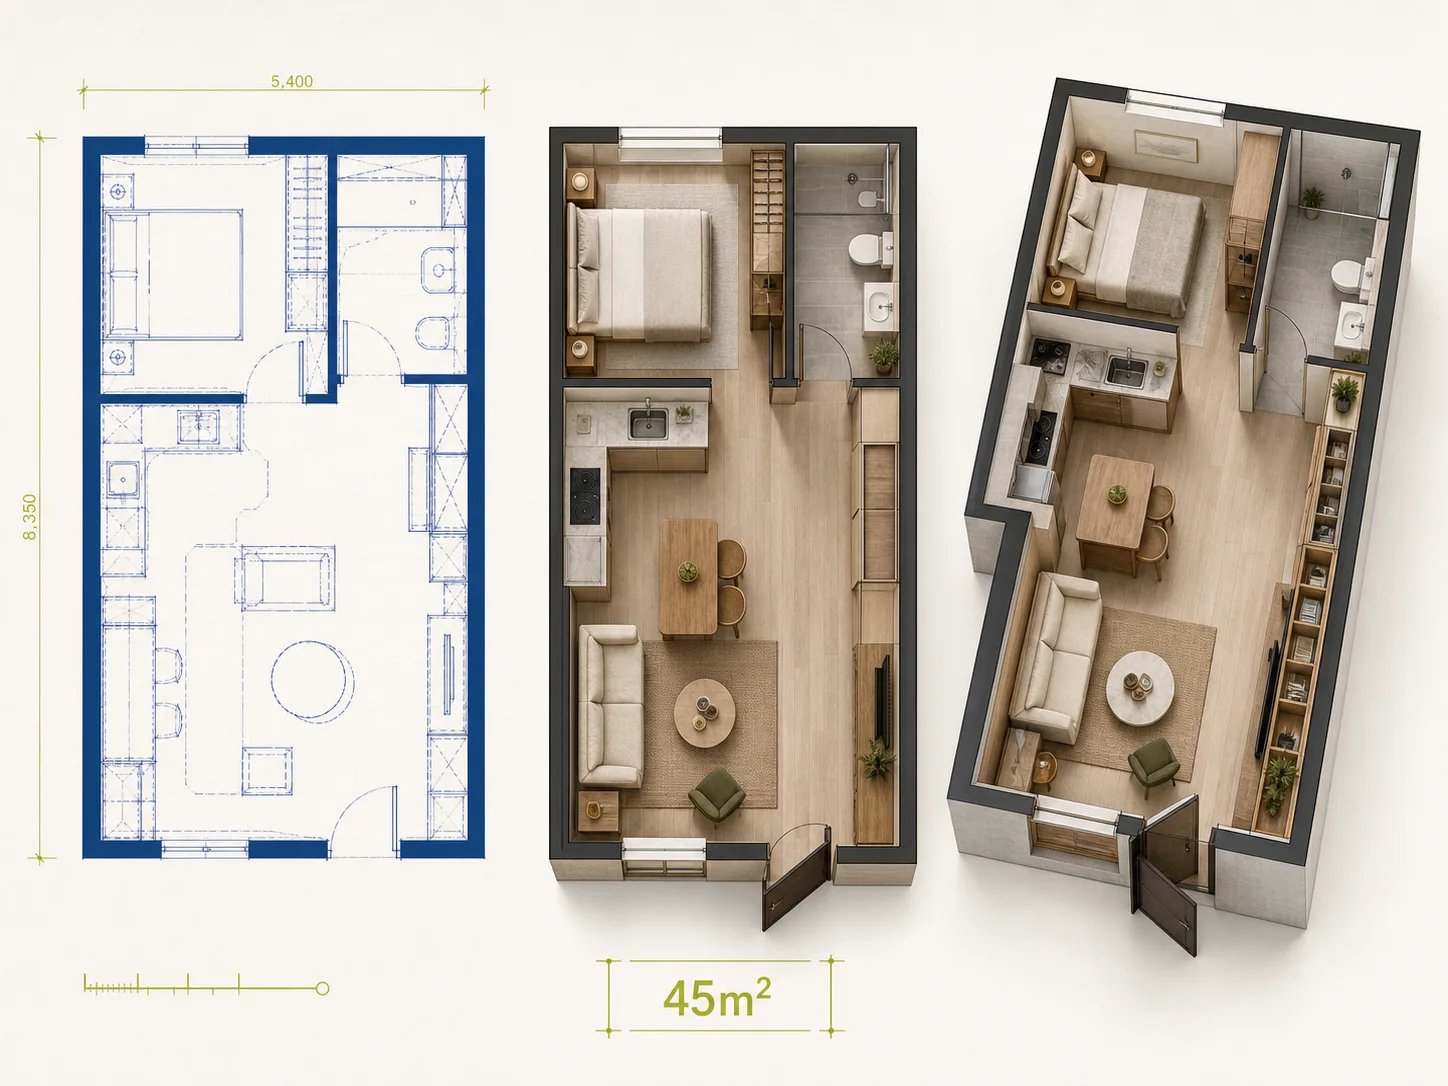
In a studio, tiny house, or compact apartment, a wide corridor or badly placed door can waste an entire wall. Describe the furniture, storage, and clearances you care about, then use the 2.5D view to spot where daily movement still feels cramped.
Plan a compact home
A written brief can hide disagreements about room size, privacy, and circulation. Turn it into a visual concept, choose the view that suits the conversation, and ask for feedback on the layout instead of debating an abstract list of requirements.
Create a review image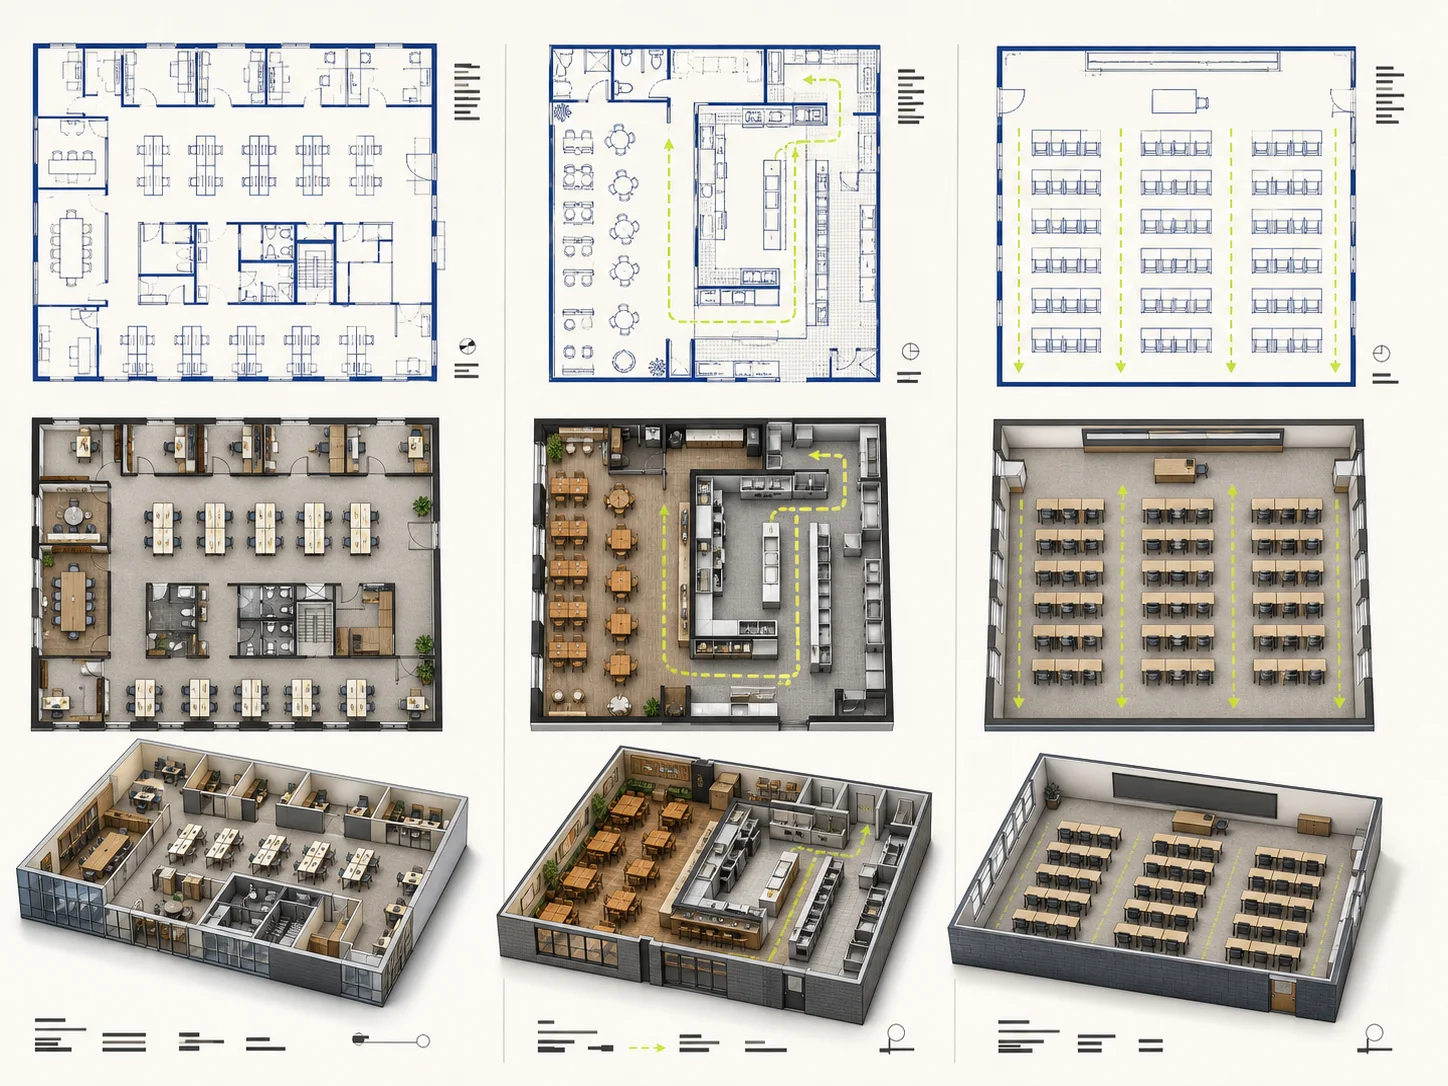
Offices, restaurants, classrooms, and shops depend on who needs to move where. Set the layout type, add the relevant rooms or features, and check entrances, queues, aisles, storage, quiet areas, and back-of-house routes before asking for another version.
Plan a shared spaceA clearer way to start
Not every floor plan needs the same treatment. Decide whether you are creating, revising, visualizing, or learning, then open the part of the workspace that matches that job.
Choose the right starting point
Both paths create concept images, but they begin with different information. Choose the one that matches what you already have and what you need to decide next.
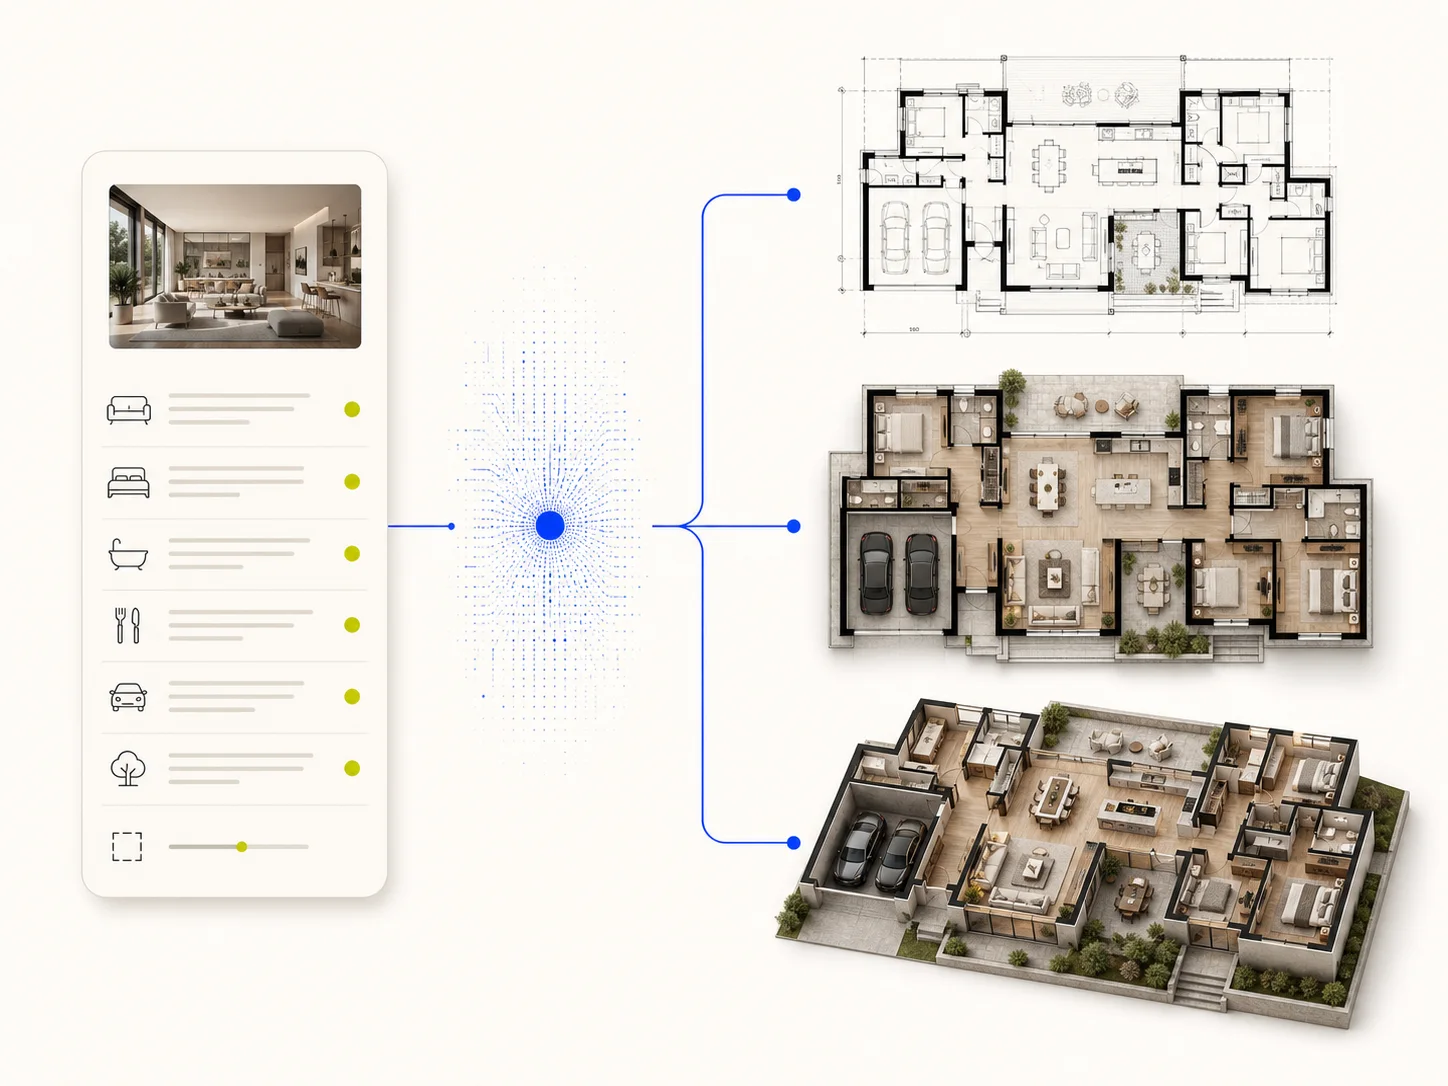
Use Floor Plan Maker when you have a room list, target size, and a problem to solve but no useful plan image. Pick the space type, set the requirements, and choose Blueprint, 2.5D, or 3D Isometric before you generate.
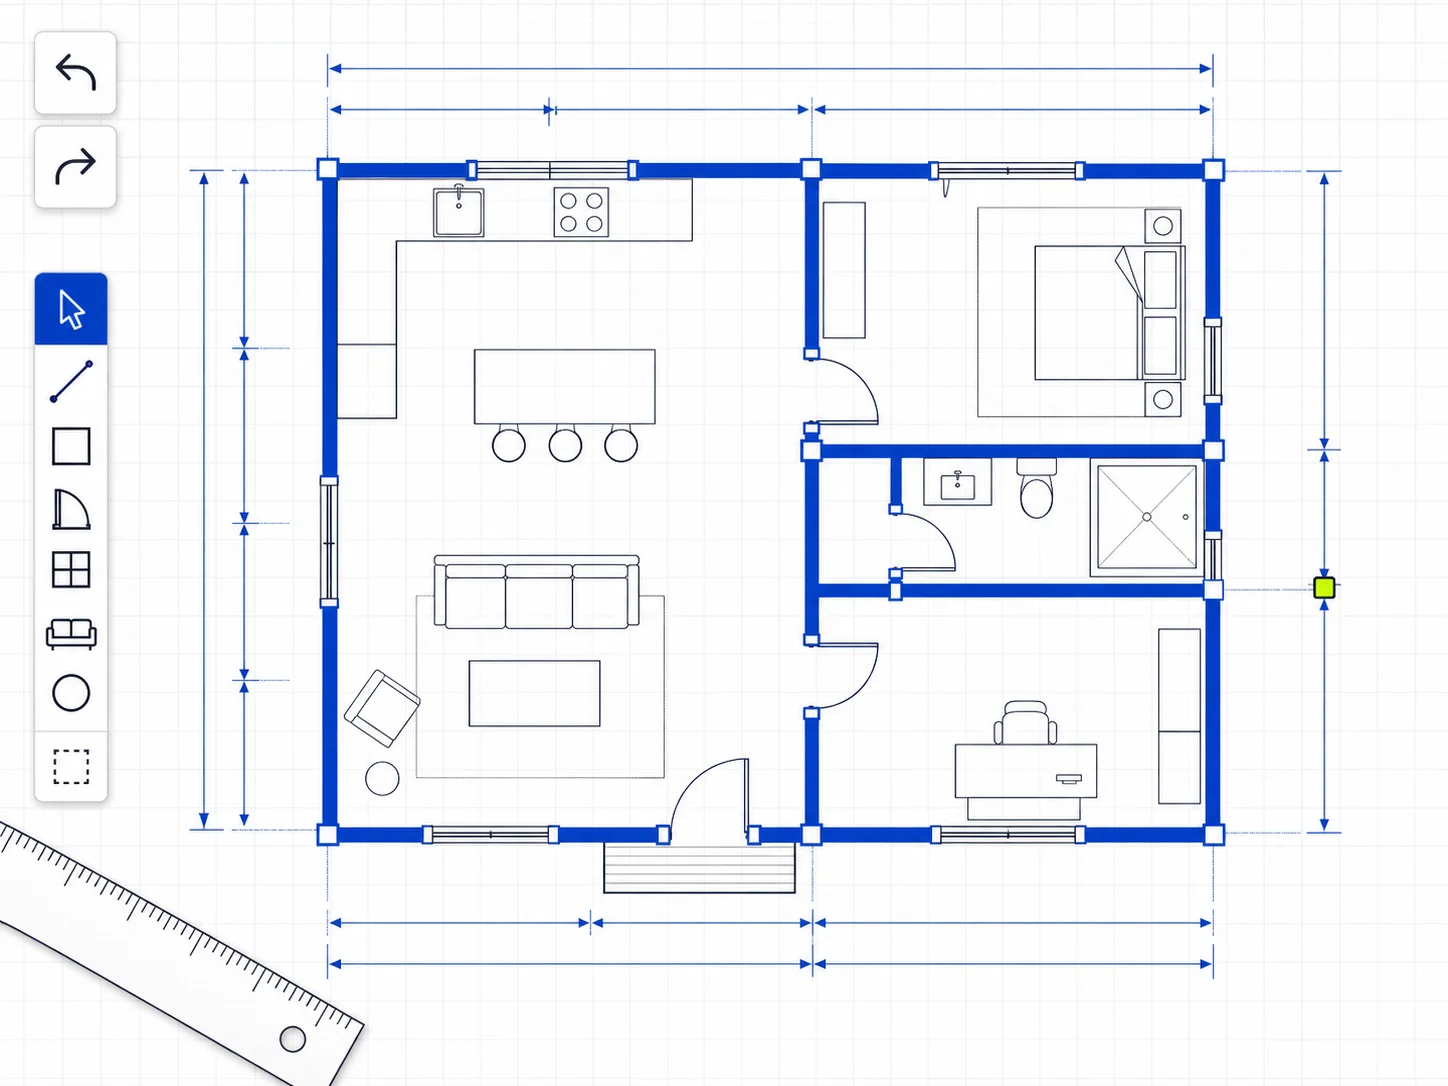
Use Floor Plan Editor when you already have a plan image and want to test a visible change. Upload the source, describe one revision, select the output style, and compare the new image with the original rather than rebuilding the whole brief.
Review checklist
These illustrations explain what to review; they are not recorded case studies or proof of dimensional accuracy. Check every result against the original request, the change you asked for, and the real-world decisions that still need verification.
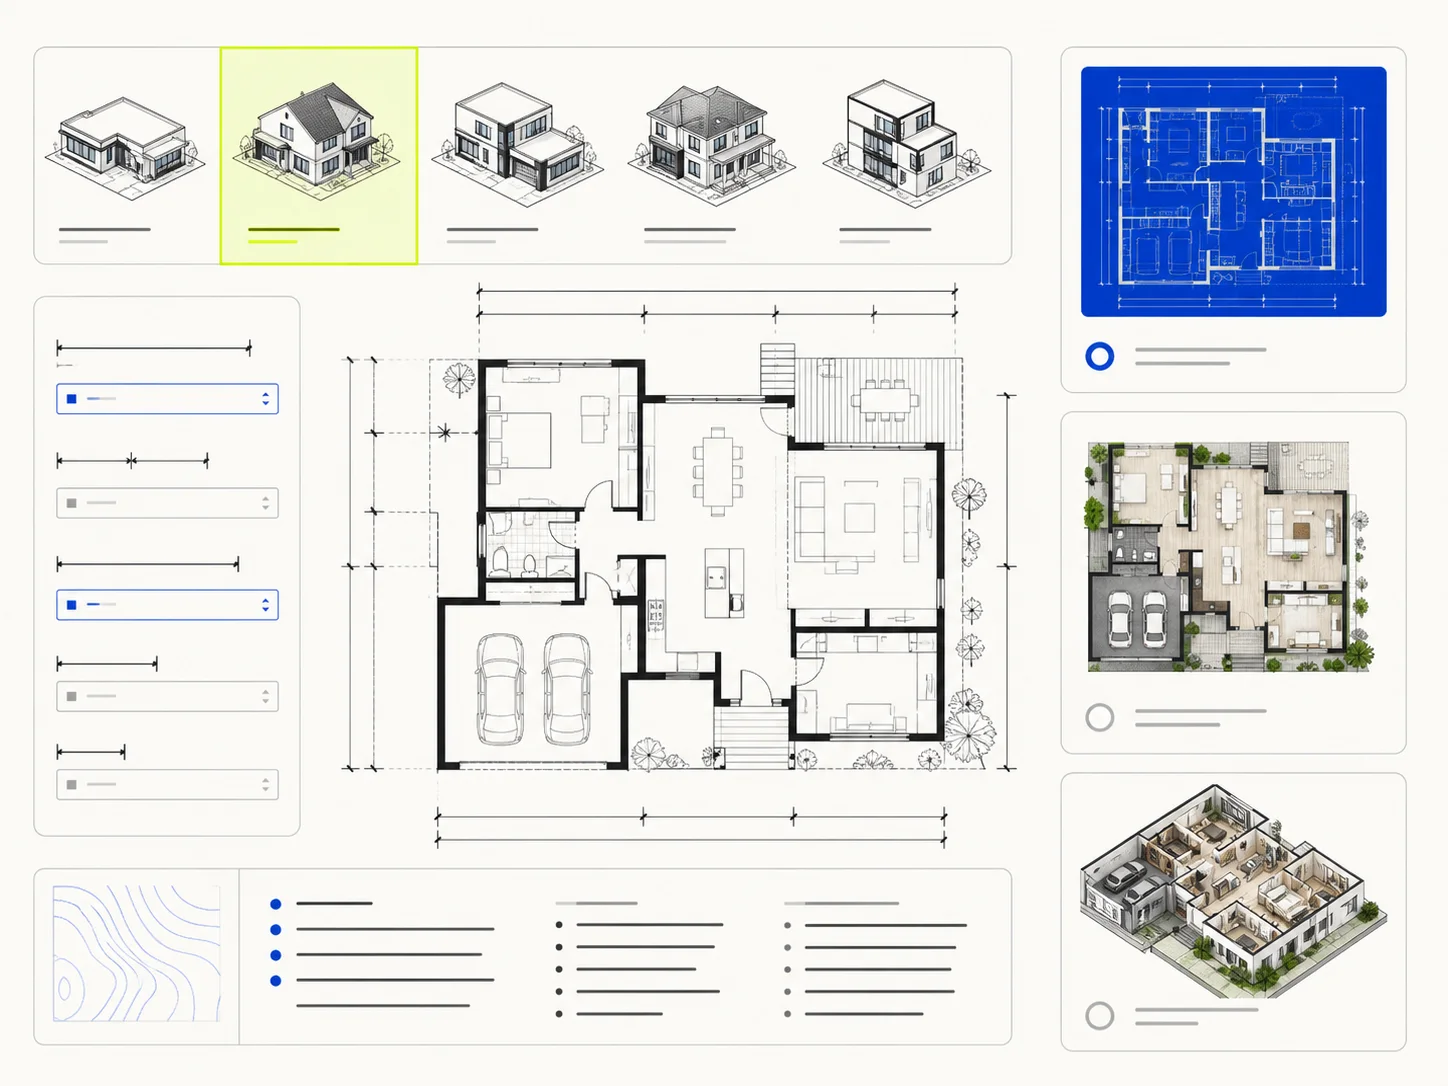
Check the space type, rooms, target size, adjacencies, circulation, and selected view. If a key requirement is missing, correct the brief before asking for cosmetic changes.
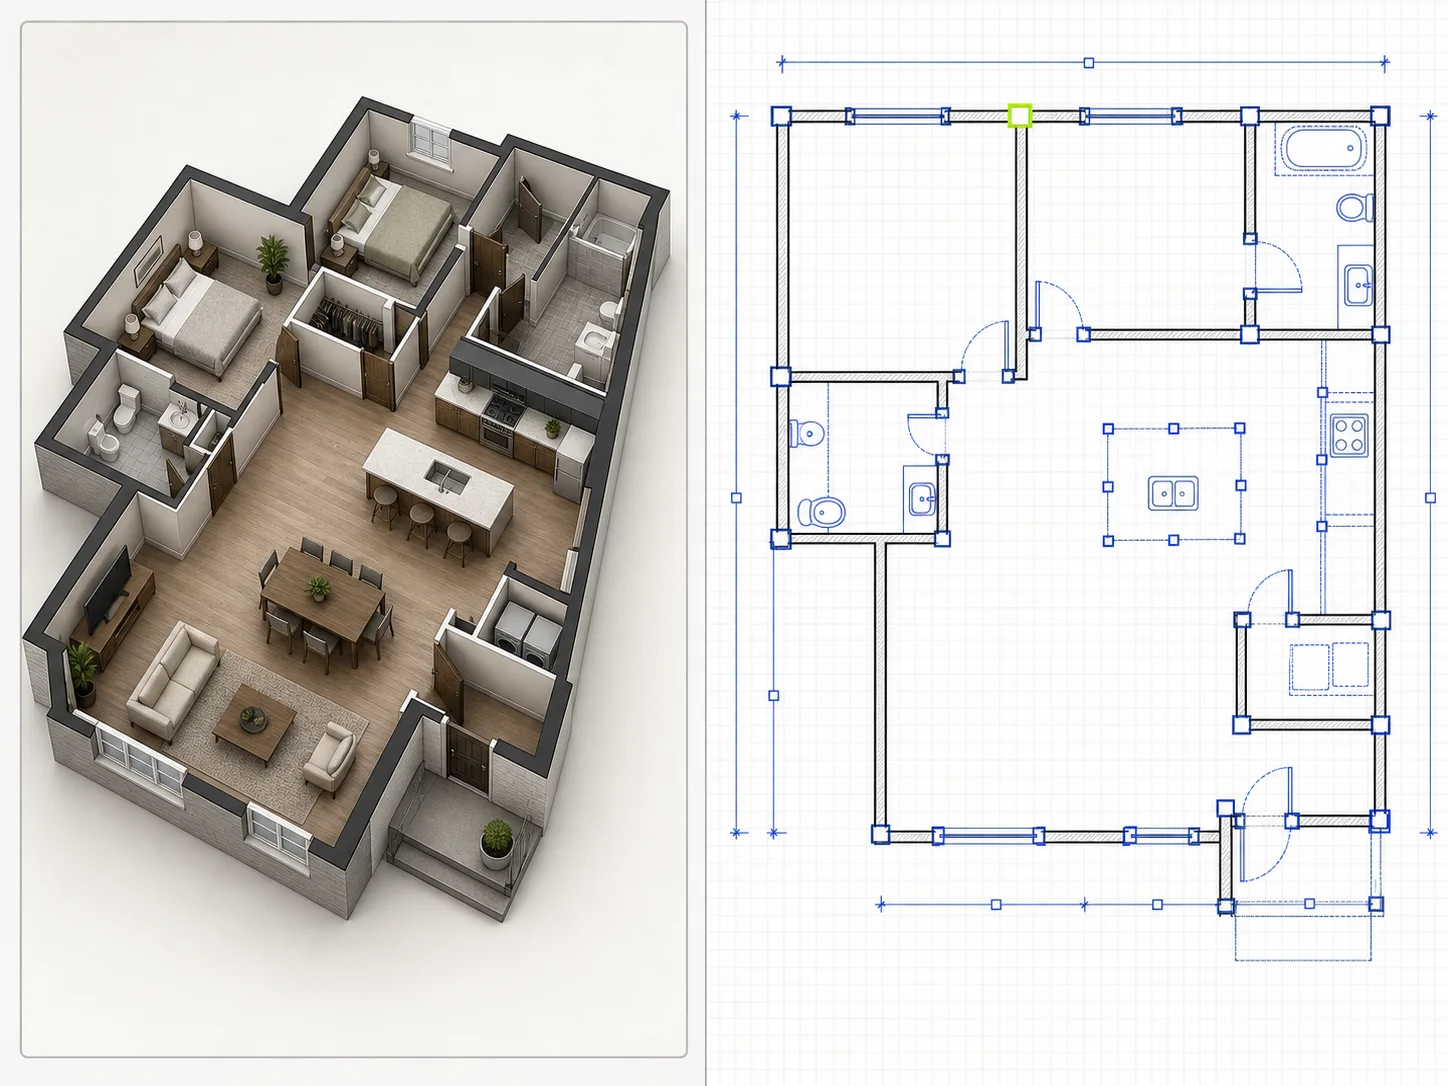
Compare the result with its source or previous version. A useful revision should answer the request you made without quietly changing unrelated rooms, openings, or circulation paths.
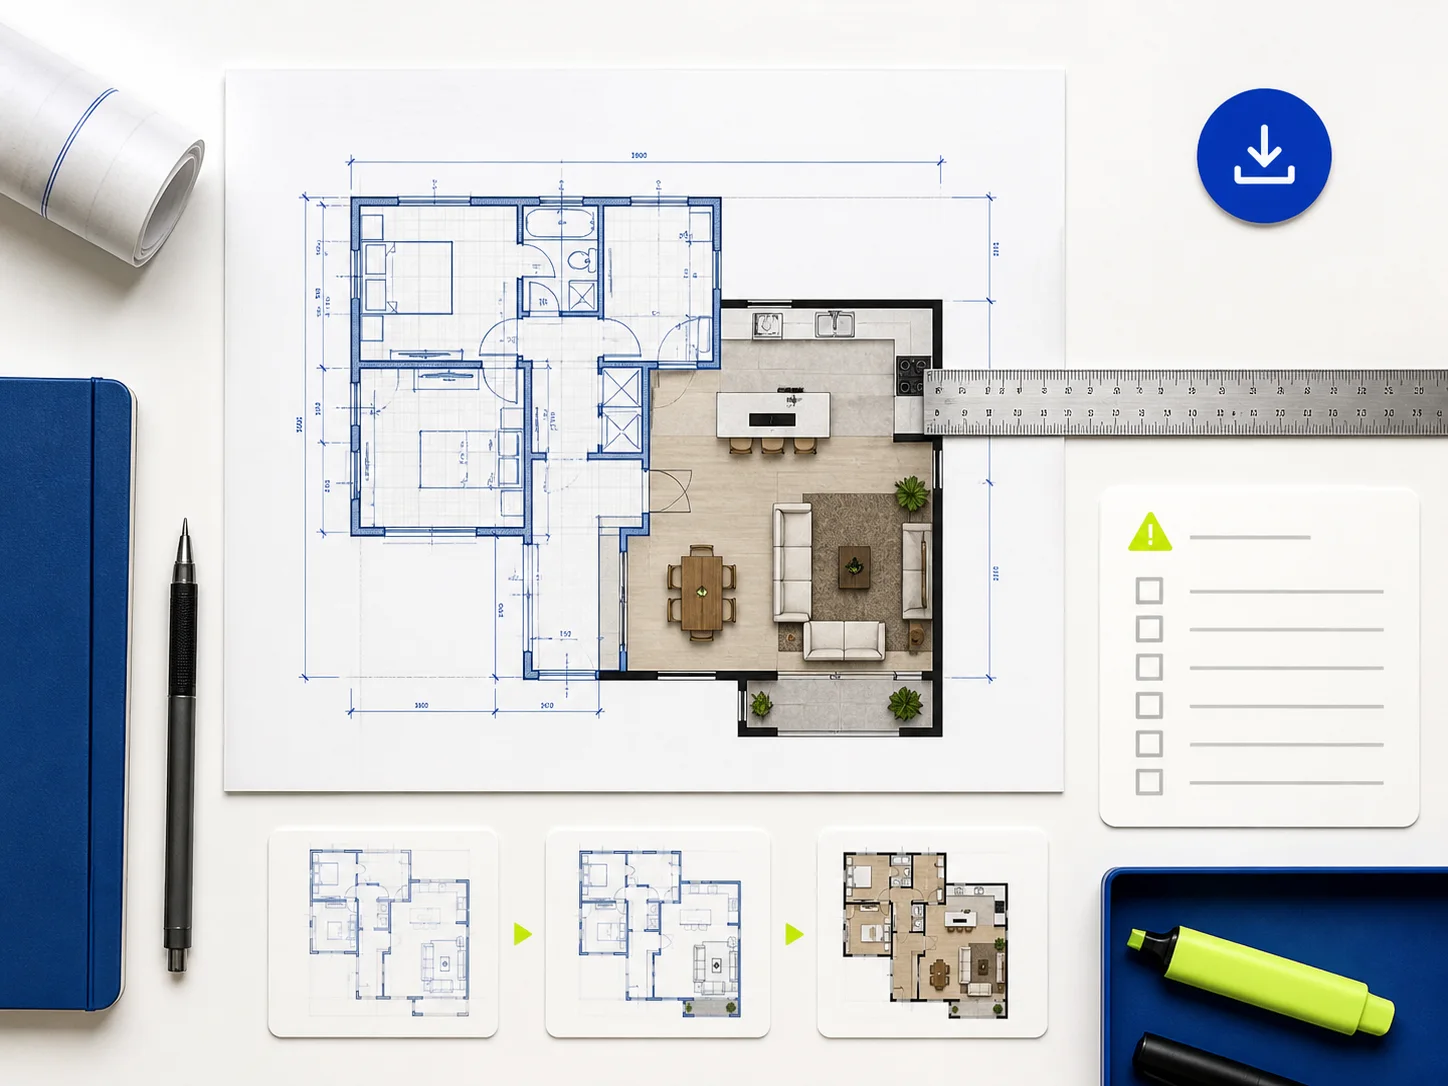
Confirm critical dimensions, structure, access, services, codes, and professional responsibilities outside the generated image. Treat the result as a conversation and planning aid, not approval to build.
Frequently asked questions
Here is what the current workspace can do, what its outputs mean, and what to check when a result is not ready to use.
A floor plan maker turns a room list, target size, and layout priorities into a visual plan you can review. Planorial creates concept images from a structured brief and can also revise an existing floor plan image. The result is useful for early discussion, comparison, and presentation.
Yes, you can start with a space type or a complete example instead of writing every instruction from scratch. Replace the sample details with your rooms, size, and priorities, then review the result for missing requirements and unrealistic relationships before making another version.
You can request Custom, House, Office, Restaurant, or Classroom layouts. Each can be shown as a Blueprint, 2.5D furnished view, or 3D Isometric concept. The examples also cover apartments, villas, tiny homes, shops, cafés, hotels, coworking spaces, and schools.
Open Floor Plan Editor, upload a PNG, JPEG, or WebP image, and describe the specific change you want to see. Choose the output style and generate a revised concept. Keep the original available so you can check whether unrelated parts of the layout changed.
Length, width, area, and units are included as requirements in the generation request, but the resulting image is not a verified scale drawing. Check every important measurement independently and do not rely on visual proportions for construction, code review, procurement, or professional documentation.
Edit sends a result to the image editor with a focused change request. Render asks for the plan in another visual style while using the current image as a reference. Both actions create images; neither converts the result into CAD, BIM, or editable building geometry.
Open History to see up to nine recent images. Signed-out history lasts for the current page session, while signed-in history is kept for 30 days. Select a thumbnail to enlarge it or return it to the result area. History remains recent working context rather than permanent project storage.
Check that the brief is present, the size values are valid, and an uploaded image uses a supported format. Then wait a moment and try again. If an edit fails, use a smaller source image and describe one clear change instead of combining several revisions.
No. A generated floor plan is a concept image, not a permit set or construction document. Before building, verify dimensions, structure, fire and accessibility requirements, services, materials, local codes, and the responsibilities of the qualified professionals involved in the project.
Start with one clear problem
Choose the space type, enter the size you want the concept to follow, and describe the room relationship or circulation problem you need to see. Create one version, compare it with the brief, and make the next revision specific.
Create your floor plan